This review contains affiliate links. If you purchase through our links, we may earn a commission at no extra cost to you.
The first question most people ask when they see an ACMER S1 listed at $60 is: “Is this actually a real laser, or just a toy that sets cardboard on fire?”
Fair question. The budget diode laser market is full of generic rebranded units where the brand name changes every few months and customer support is a form email. ACMER is a different situation: they have been in the laser space long enough to build an actual support structure, they respond to customer queries, and they stand behind their hardware with a warranty you can actually use. That does not make the S1 a professional machine. But it does make it a real product from a real company.
I have spent time with the S1 going through soft materials, testing speeds, and pushing into its limits. If you are researching best laser engravers for beginners and wondering whether the ACMER S1 fits anywhere in that conversation, or if you are just trying to decide if $60 is worth spending, this review gives you the honest picture. No hype, no padding.
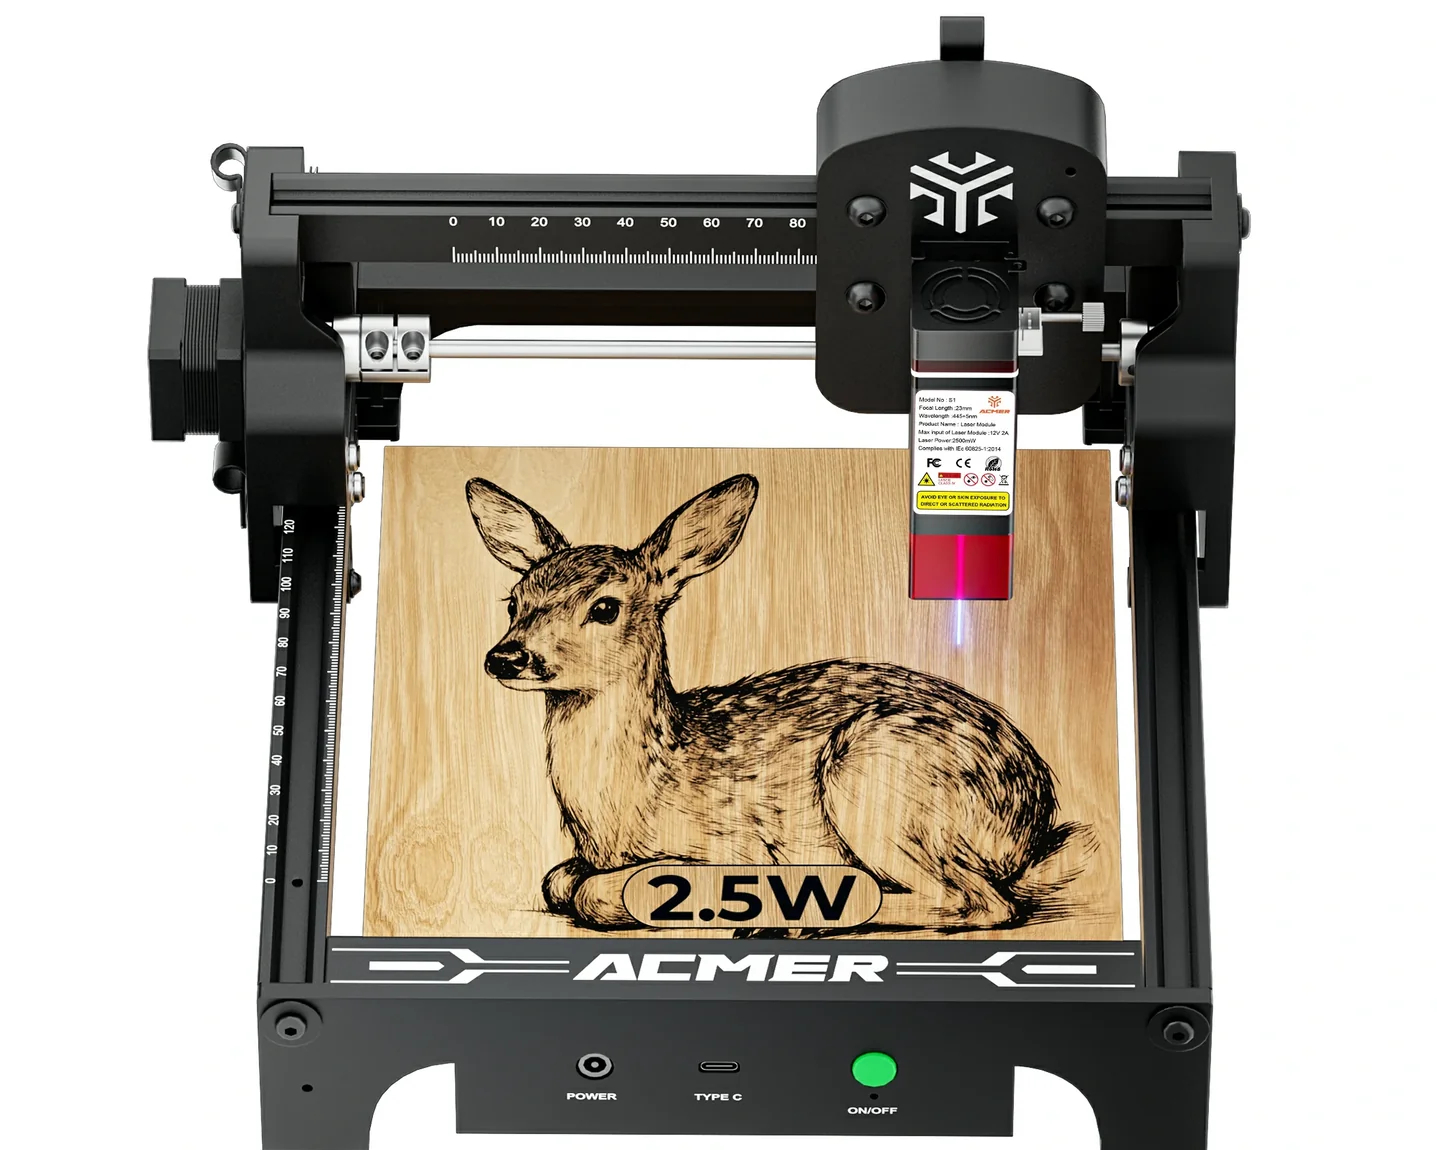
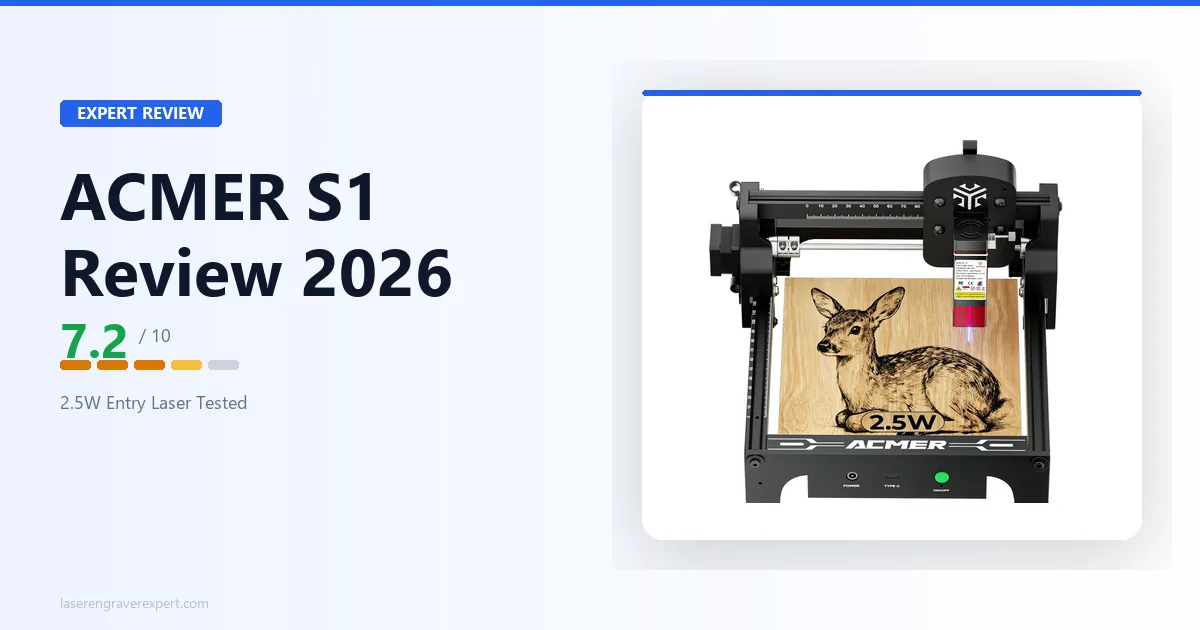
ACMER S1 2.5W Laser Engraver
7.2/10- Under $90 shipped
- Assembles in under 20 minutes
- LaserGRBL compatible (free software)
- Handles cardboard, cork, foam, coated metals well
- Lightweight and compact for a small workspace
- 2.5W cannot cut wood in any practical way
- No air assist included
- Open frame: no enclosure, no fume containment
- Fixed focus only
- Limited community support vs Atomstack or Sculpfun
ACMER S1 Specs Overview
Full Specs Table
| Spec | Value |
|---|---|
| Laser Type | Diode (2.5W / 2500mW optical) |
| Laser Wavelength | ~450nm (blue diode) |
| Controller | GRBL |
| Software | LaserGRBL (free) |
| Focus Type | Fixed focus |
| Enclosure | None (open frame) |
| Air Assist | Not included |
| Work Area | ~300 × 400mm (verify current listing) |
| Connectivity | USB |
| Price Range | ~$60–$90 |
One number to flag immediately: 2.5W is the optical output power, not the electrical input. Some listings throw around “2500mW” as if it were comparable to a 10W machine at 25% power. It is not. Optical output is the number that matters for material processing. If you want to understand why wattage works the way it does across diode, CO2, and fiber machines, the diode vs CO2 vs fiber laser guide covers this in full.
What the ACMER S1 Can Actually Do
Before running any material tests, I want to be specific about where this machine sits on the capability ladder. Comparing the ACMER S1 to a laser engraver vs Cricut decision is actually useful framing: the S1 is closer to a Cricut in terms of what it can realistically accomplish for most people, with the added dimension of heat-based marking rather than blade cutting.
At 2.5W, the machine’s strength is surface marking on soft or pre-coated materials. It will not through-cut anything thicker than paper.
Best Materials for the ACMER S1
- Cardboard and corrugated board: excellent results with minimal effort
- Cork sheets: clean, consistent marks
- Craft foam and EVA foam: engraves well at low speeds
- Thin basswood up to 2mm: surface engraving only, not cutting
- Anodized aluminum and coated metals: removes the coating to create contrast marks
- Dark acrylic surfaces: marks the surface coating; cannot engrave clear acrylic
- Leather: light marking on thin vegetable-tanned pieces
What the ACMER S1 Cannot Do
The S1 cannot cut wood. Not 3mm, not 2mm, not balsa, not in any way that produces a usable result. Multiple passes at maximum power on 2mm basswood produces a scorched groove, not a cut. If wood cutting is part of your plan, you need to look at machines starting around 10W optical output and read the best laser cutter for beginners guide before making any purchase decision.
It also cannot engrave clear or light-colored acrylic. The 450nm blue diode wavelength passes through clear acrylic rather than absorbing into it. Dark and opaque acrylics work; transparent materials do not.
There is no air assist, which limits edge quality on softer wood engravings and shortens the window before smoke residue starts affecting results. No enclosure means every smoke particle goes into your workspace. That is not a complaint: it is a $60 open-frame machine, and those are the expected trade-offs at this price point.
ACMER S1 Engraving Results: 5 Materials Tested
Safety first: The ACMER S1 is an open-frame laser. Always wear OD5+ laser safety glasses rated for the laser wavelength. Work in a ventilated space. Never operate with children or pets nearby.
Cardboard and Corrugated Board
This is where the S1 earns its keep. Running at 3,000 mm/min, 85% power, single pass, the machine cuts cleanly through single-layer cardboard and produces sharp, dark marks on corrugated surfaces. For prototyping packaging mockups, cutting stencils from cardboard, or simple craft projects, the results are genuinely clean.
The edges do scorch slightly without air assist, but on cardboard this reads as a natural aesthetic rather than a quality problem. If you are making gift tags, simple stencils, or decorative cardboard pieces, the S1 handles this with zero frustration.
Basswood (Thin, 2mm)
Surface engraving on 2mm basswood at 1,500 mm/min, 100% power, single pass produces a medium-dark mark: readable text and simple graphics come out clearly. The contrast is decent but not deep, which limits applications where you want a bold wood burn effect.
Attempting to cut through the same 2mm sheet at 100% power over 5 passes produced a scorched channel roughly 0.8mm deep. It did not cut through. This is consistent with what 2.5W optical output can physically achieve on wood. If wood is central to your projects, the best laser engraver for wood guide starts at machines with the wattage to actually do the job.
Cork and Foam
Cork at 2,000 mm/min, 70% power, single pass gives clean, consistent results; this is probably the most satisfying material to run on the S1. The surface marks evenly, the contrast is strong, and there is very little smoke at these settings.
EVA craft foam at 2,500 mm/min, 60% power engraves without melting or deforming the surface, which is harder to achieve than it sounds on foam. Keep speed up and power moderate; going slow at high power melts the foam rather than engraving it.
Dark Acrylic Surface Marking
On a piece of black cast acrylic at 2,000 mm/min, 90% power, the S1 removed the surface layer and produced a white-on-black contrast mark. The result was clean and consistent across the piece.
This only works on opaque dark acrylic. Clear, white, or light-colored acrylic does not respond to the 450nm wavelength. Do not expect CO2-quality edge finishes here; this is surface marking, not engraving into the material itself.
Anodized Aluminum With Black Coating
At 1,500 mm/min, 95% power, single pass, the S1 ablated the black anodized coating off an aluminum business card blank and produced a sharp silver-on-black mark. This is one of the genuinely useful applications for a 2.5W diode: the coating removal threshold is low enough that 2.5W handles it comfortably.
Text at 3mm font size came out legible. Fine detail work at 1mm font size was marginal: readable under good light, but not crisp. For simple logo marks and text on coated metals, this works.
Setting Up the ACMER S1
Unboxing and Assembly
Assembly is straightforward. The frame ships in two main sections that connect with four bolts, the laser module attaches to the gantry with two screws, and the cable routing takes about five minutes. Total time from opening the box to a functioning machine is under 20 minutes for most people.
The build quality is what you expect at this price: aluminum extrusions that feel rigid enough, plastic brackets that do not inspire confidence but hold up in normal use. The laser module cable is the one point of concern: the connector sits in a way that puts slight stress on the wire during full Y-axis travel. Handle it carefully during setup and avoid pulling the cable taut.
No focus adjustment is needed: the S1 uses a fixed focus module. Set your material at the specified focal distance using the included spacer or a coin-sized object of the right thickness, and you are ready to engrave.
LaserGRBL Software Setup for Beginners
LaserGRBL is free, open-source, and runs on Windows. Download it from the official repository, install the GRBL drivers when prompted, and connect via USB. The S1 shows up as a COM port in Device Manager: select it in LaserGRBL, set the baud rate to 115200, and connect.
The interface is functional but not intuitive. There is no drag-and-drop positioning, no camera view, and no material presets. You set speed and power manually, import an image or SVG, and run the job. For a first laser, plan to spend an hour with the software before your first real project.
LightBurn may work with the S1 via the generic GRBL device option, but ACMER does not officially document this and I cannot confirm reliable performance. At this price point, LaserGRBL is the practical software choice.
Your First Engrave: Step by Step
- Place material on the work bed and position it under the laser head
- Use the fixed-focus spacer to set the correct distance between the module and the material surface
- In LaserGRBL, import your image (PNG, JPG, or SVG)
- Set speed to 2,500 mm/min and power to 80% for a first test on cardboard
- Frame the job using the boundary preview function to confirm positioning
- Put on your laser safety glasses
- Confirm ventilation is running
- Start the job
Run a small test patch before committing to a full project. Settings vary by material batch and ambient conditions; a 5-minute test saves a ruined piece.
ACMER S1 Pros and Cons
What I Like
- Genuinely under $90. At this price, the machine either works or it does not, and the S1 does work for the materials it is rated for.
- Fast assembly. Under 20 minutes is a real number, not a marketing claim. The frame goes together without frustration.
- Fixed focus removes one variable. Beginners struggling with focus calibration on adjustable-focus machines will find the simplicity of fixed focus useful.
- Coated metal results are solid. For marking anodized aluminum tags, coated steel, or similar surfaces, 2.5W is sufficient. The results are clean and repeatable.
- Compact footprint. The S1 fits on a standard desk without consuming the whole workspace.
What I Wish Were Different
- No air assist, and no easy path to add one. Without air assist, smoke residue builds up on the lens faster and edge quality on wood engravings suffers. This is the single biggest limiting factor for the machine’s output quality.
- LaserGRBL only, in practice. The software works, but it asks more from the user than LightBurn. Beginners who expected a smoother software experience will feel the gap.
- Fixed focus is a limitation too. What makes setup easy also means you cannot adjust focal length for different material thicknesses beyond a narrow range. Thicker items simply will not focus correctly.
- No safety sensors. No flame detection, no tilt sensor. Open-frame machines at this price point do not include them, but it is worth noting that you are the entire safety system.
- Community support is thin. If you run into a problem, the LaserGRBL forum and a handful of YouTube tutorials is about what you have. Compare this to the Atomstack or Sculpfun communities, which are large and active.
Is the ACMER S1 Worth It? Who Should Buy It
The S1 makes sense for a specific type of buyer: someone who is genuinely curious about laser engraving, has a firm budget around $60–$90, and wants to engrave cardboard, cork, foam, or coated metals for personal projects or light experimentation. That is a real use case, and the machine handles it.
It also makes sense as a teaching tool. If you are introducing a teenager or a student to laser operation and want a machine where a mistake costs $60 and not $400, the S1 is a reasonable entry point. The low wattage actually limits the damage a learning user can do, which has value in an educational context.
If you are thinking about how to start a laser engraving business , the S1 is not the machine for that. At 2.5W, you cannot produce the material range, speed, or cutting capability that any commercial application requires. You would be re-buying within six months.
Similarly, if you are shopping for a machine for best laser engraver for small business applications, the S1 does not clear that bar. Look at machines with at least 10W optical output and read the broader best laser engravers overall roundup before committing.
Who Should Skip the ACMER S1
- Anyone who needs to cut materials, even thin wood or acrylic
- Anyone planning to sell engraved products: the throughput and material range is too limited
- Anyone expecting LightBurn to work reliably out of the box
- Anyone buying a “beginner machine” with the intention of learning and upgrading quickly: the $60–$150 price gap between the S1 and a 10W machine is small enough that starting higher is usually the better decision
When You Are Ready to Upgrade
If you have used the S1 and want more capability, here are three clear paths:
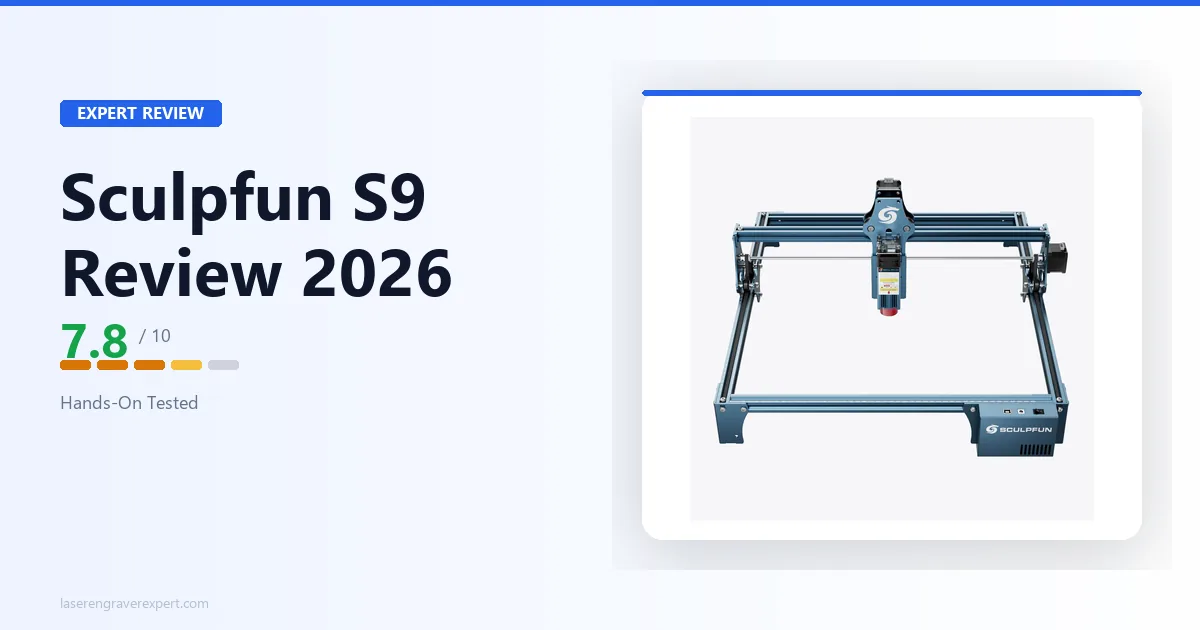
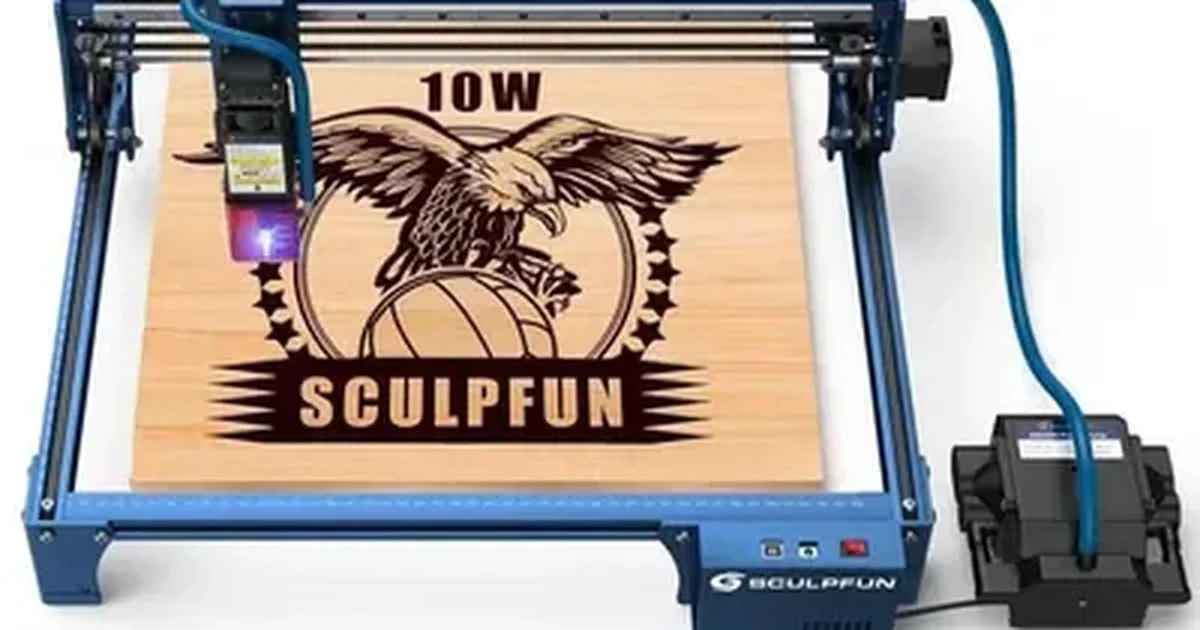
The next step up, around $200: The Sculpfun S9 review covers a machine that runs at 10W optical output, handles 6mm plywood in multiple passes, and costs around $160–$200. The jump in material capability is not incremental; it is a different category of machine.
Mid-range open frame, around $300–$450: The Sculpfun S30 Pro Max review and Atomstack A24 Pro review both cover machines with larger work areas, more power, and real cutting capability. The Ortur Laser Master 3 review is also worth reading if you want a machine with built-in safety sensors and Wi-Fi connectivity at a similar price.
If you want an enclosed machine: The Creality Falcon 2 Pro review covers an enclosed diode laser at around $700–$900 that handles indoor use, fume management, and production volume in a way no open-frame machine at any price point can match.
For a full picture of what is available at each tier, the xTool D1 Pro review covers the machine I would recommend to most intermediate buyers, and the best laser engraver under $500 guide covers the field if you want to browse options systematically.
ACMER S1 vs Atomstack A5 Pro: Which Budget Laser Wins?
The Atomstack A5 Pro review covers the most common alternative people consider alongside the ACMER S1. Here is how they compare directly.
| Feature | ACMER S1 | Atomstack A5 Pro |
|---|---|---|
| Laser Power | 2.5W optical | 5–5.5W optical |
| Price | ~$60–$90 | ~$110–$150 |
| Work Area | ~300 × 400mm | 410 × 400mm |
| Air Assist | Not included | Not included |
| Software | LaserGRBL | LaserGRBL / LightBurn |
| LightBurn Support | Unofficial | Yes (confirmed) |
| Enclosure | Open frame | Open frame |
| Best For | Cardboard, cork, coated metals | Thin wood, leather, acrylic engraving |
| Community Size | Small | Large |
The gap between 2.5W and 5W is more significant than the $50–$60 price difference suggests. Doubling the optical output meaningfully changes what the machine can do with wood: the A5 Pro can engrave 3mm basswood cleanly where the S1 only scorches the surface. LightBurn compatibility on the A5 Pro is also confirmed, which is a meaningful software upgrade.
Choose the ACMER S1 If…
- Your budget is hard-capped at $60–$80
- Your primary materials are cardboard, cork, foam, or coated metals
- You want the simplest possible setup and do not need to grow into the machine
- You are buying as a gift or teaching tool where cost is the priority
Choose the Atomstack A5 Pro If…
- You can stretch to $120–$150 and want meaningful cutting capability on thin wood
- LightBurn compatibility matters to you now or in the future
- You want access to a larger user community with more tutorials, shared settings, and troubleshooting help
- You plan to engrave leather, thicker basswood, or acrylic surfaces
Frequently Asked Questions
Is the ACMER S1 good for beginners?
Can the ACMER S1 cut wood?
What software does the ACMER S1 use?
How big is the ACMER S1 engraving area?
Is the ACMER S1 safe to use indoors?
Final Verdict: ACMER S1 Review
The ACMER S1 does what a $60 laser engraver with 2.5W optical output can actually do, and it does not pretend to do more. That honesty is reflected in the price.
For cardboard prototyping, cork coasters, foam stencils, and coated metal tags, the machine is capable and frustration-free. The assembly is fast, the software is free, and ACMER is a real company with real warranty support. Those are meaningful advantages over generic rebrands at the same price.
Where it falls short is anywhere a buyer has underestimated what 2.5W means in practice. It will not cut wood. It will not produce the range of results you see in laser engraving communities where people are running 10W or 20W machines. If you buy the S1 expecting those results, you will be disappointed.
The honest buying advice: if $60 is genuinely the limit, the S1 is a legitimate choice for soft-material engraving. If you can reach $150, buy the Atomstack A5 Pro instead. If you can reach $300–$400, you enter a range where the machines covered in the best laser engraver under $500 guide and best laser engraver under $1,000 guide will serve you for years.
The ACMER S1 earns a 7.2/10: a real product at an honest price, appropriately scoped.
Ready to buy?
Check Price on Amazon →