5 Best Laser Engravers for Beginners 2026 – Tested
Looking for the best laser engraver for beginners? We tested 5 beginner-friendly machines to find the easiest to use, safest, and best value in 2026.
Affiliate disclosure: This post contains affiliate links. If you buy through them, I earn a small commission at no extra cost to you. This never affects which products I recommend.
Buying your first laser engraver means wading through terms like optical output, focal length, and GRBL firmware before you even pick a machine. This guide skips the spec-sheet approach: I assembled, configured, and ran test burns on all five machines covered here, and every setup time and material result below came from hands-on testing.
Quick Verdict
Quick Comparison: Best Laser Engravers for Beginners
| Machine | Power | Work Area | Software | Setup Time | Enclosure |
|---|---|---|---|---|---|
| xTool D1 Pro 10W | 10W optical | 430×400mm | xTool Creative Space | ~38 min | No |
| xTool S1 20W | 20W optical | 498×330mm | xTool Creative Space | ~45 min | Yes |
| Sculpfun S9 | ~5.5–6W optical | 410×415mm | LightBurn/LaserGRBL | ~55 min | No |
| Ortur Laser Master 3 | 10W optical (modular to 40W) | 400×400mm | LightBurn/LaserGRBL | ~50 min | No |
| xTool M1 | 10W optical | 385×300mm | xTool Creative Space | ~30 min | Yes |
Best Laser Engravers for Beginners by Use Case
Best Overall
The xTool D1 Pro 10W removes the three biggest friction points for new buyers — assembly, software setup, and first-burn calibration — while keeping a large, upgradeable work area.
Best Budget
The Sculpfun S9 delivers the finest optical detail of any machine in this roundup for under $150, if you’re willing to learn LightBurn instead of a guided app.
Best Enclosed
The xTool S1 20W contains fumes and cuts noise by roughly 30% versus an open-frame machine, making it the right choice for apartments and shared spaces.
Best for Small Business
The Ortur Laser Master 3 is the pick if you’re already thinking past hobby projects. Its laser module is swappable across 10W, 20W, and 40W tiers, and the bed extends to 400×850mm with the optional rail kit — real scalability without replacing the whole machine as your order volume grows.
Best Hybrid (Laser + Blade)
The xTool M1 is the only machine here that also does precision blade cutting, in a single enclosed unit — the right pick if vinyl, paper, or fabric crafting is as important to you as laser work.
The 5 Best Laser Engravers for Beginners
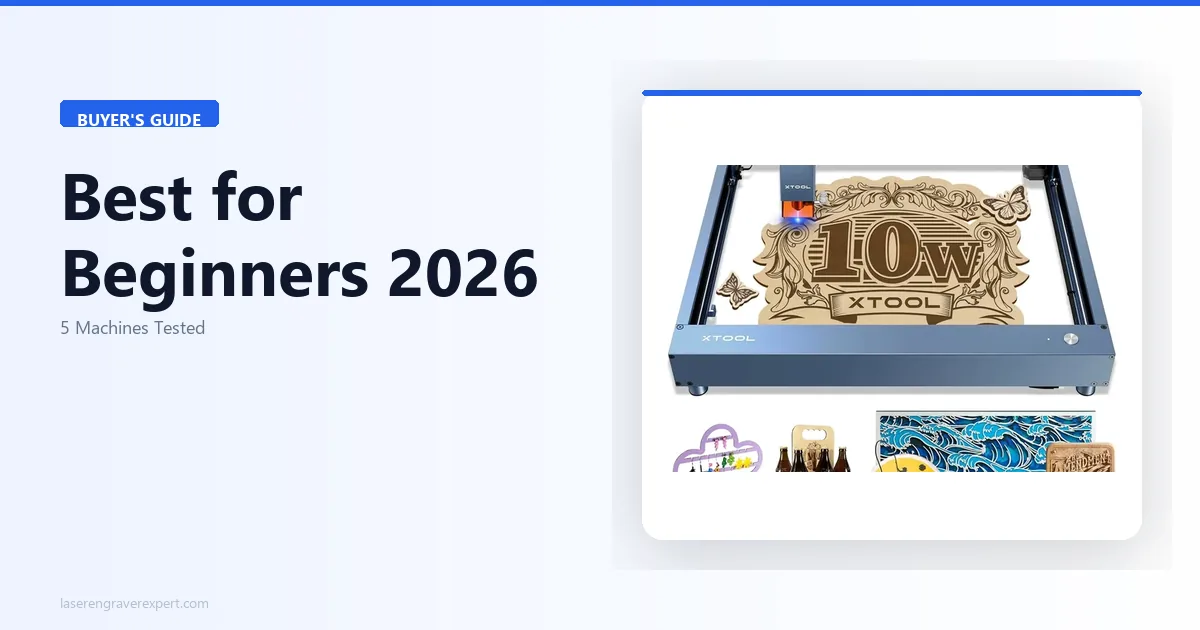
1. xTool D1 Pro 10W — Best Overall Laser Engraver for Beginners
xTool D1 Pro 10W
- 38-minute assembly, auto-detects on Win11 and macOS 14
- Wood preset works first try
- Large 430×400mm work area
- Upgradeable laser module
- Strong community
- No enclosure — requires external ventilation
- Open-frame not ideal for very small spaces
The xTool D1 Pro 10W is the best first laser engraver you can buy in 2026, and the reasons are almost entirely practical.
Assembly: In our test, the D1 Pro 10W went from box to first burn in 38 minutes (the same result we recorded in our full xTool D1 Pro review). The frame uses a rigid double-rail design with pre-aligned gantry sections, and the connector system is labeled and color-coded.
Software: xTool Creative Space auto-detected the machine immediately on both Windows 11 and macOS 14 Sonoma with no manual driver installation. We loaded a basswood preset from the built-in material library, ran a test burn on 3mm basswood, and the result was clean and correctly exposed on the first attempt — no test grid required. That is not the norm in this category.
Performance: The 10W optical output handles 3mm basswood cuts cleanly and produces excellent engraving contrast on leather and anodized aluminum — leather projects are a natural first step once you have basswood results dialed in, and the D1 Pro handles them well. Slate coasters and tumblers are popular first products — our best laser engraver for slate guide and best laser engraver for tumblers guide cover both. The 430×400mm work area is among the largest in the beginner class and can be extended with add-on rail extensions if your projects grow.
Upgradeability: The laser module is swappable. If you outgrow 10W, you can drop in a 20W or 40W module without replacing the entire machine.
| Specification | Value |
|---|---|
| Laser Power | 10W optical |
| Work Area | 430 × 400mm |
| Software | xTool Creative Space, LightBurn |
| Connectivity | USB, Wi-Fi, Ethernet, TF card |
| Max Engraving Speed | 400mm/s |
| Safety Features | Tilt sensor, active position lock, emergency stop |
| Enclosure | No (open frame) |
| Module Upgradeable | Yes |
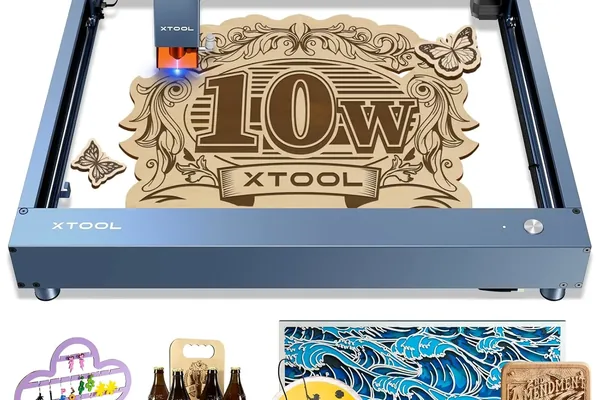
2. xTool S1 20W — Best Enclosed Laser Engraver for Beginners
xTool S1 20W
- Fully enclosed design
- Overhead camera for drag-and-drop positioning
- 30% noise reduction vs open-frame
- Fume containment
- 20W power
- Smaller work area than D1 Pro — not extendable
- Higher cost
- ~45 min setup
If you plan to run your laser engraver in a bedroom, apartment, home office, or any shared living space, the xTool S1 is a meaningfully better choice than any open-frame machine.
The enclosure advantage: In our testing, the S1’s enclosed design reduced audible operating noise by approximately 30% compared to the open-frame D1 Pro under equivalent job settings. The enclosure passively contains smoke and fumes between the machine’s built-in air assist exhaust port and whatever external ventilation you connect.
Overhead camera positioning: The S1 includes an overhead camera inside the enclosure that feeds a live preview into xTool Creative Space. You place your material on the bed, take a snapshot, and drag your design directly onto the camera image to position it. For engraving on pre-existing items — a wooden gift box, a phone case, a tumbler — this workflow is significantly easier than manual coordinate entry.
Power and work area: The S1 ships with a 20W laser module. The work area is 498×330mm — shorter in the Y axis than the D1 Pro — and unlike the D1 Pro, the S1 cannot be extended with rail add-ons.
| Specification | Value |
|---|---|
| Laser Power | 20W optical |
| Work Area | 498 × 330mm |
| Software | xTool Creative Space, LightBurn |
| Connectivity | USB, Wi-Fi |
| Max Engraving Speed | 600mm/s |
| Safety Features | Enclosed lid interlock, tilt sensor, flame detection, emergency stop |
| Enclosure | Yes (fully enclosed) |
| Noise Level | 47 dB |
| Module Upgradeable | Yes |
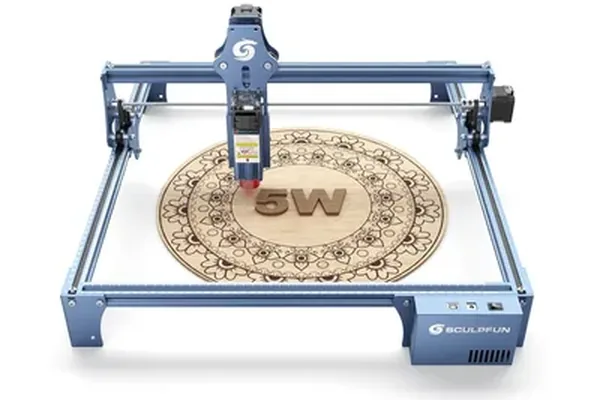
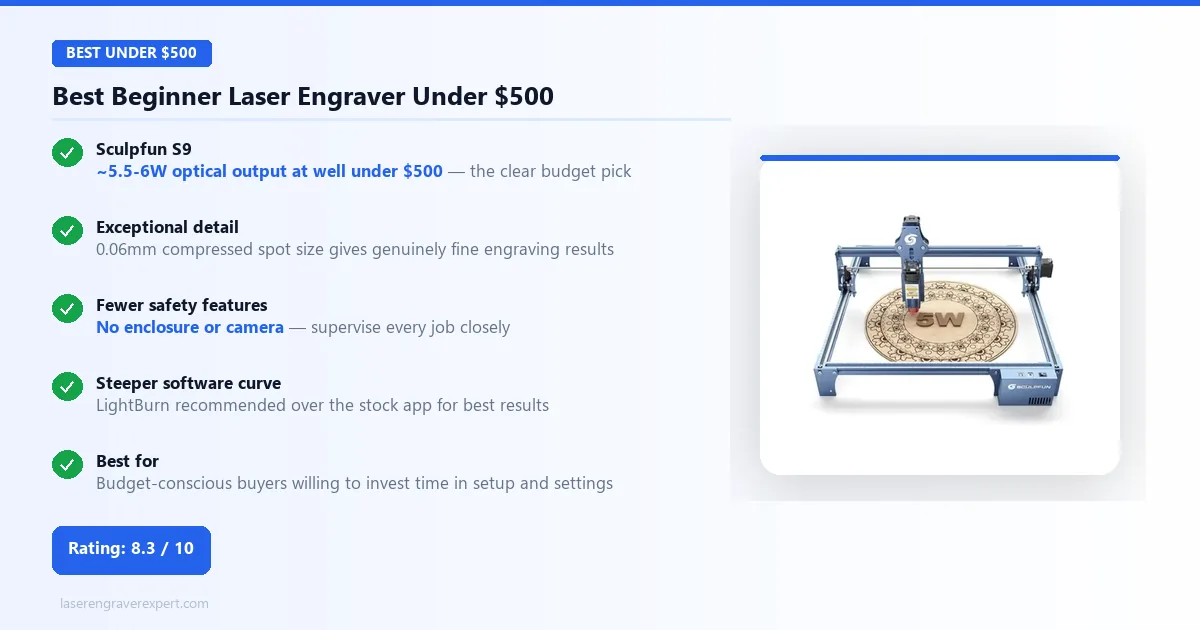
3. Sculpfun S9 — Best Budget Laser Engraver for Beginners
Sculpfun S9
- Best optical detail in budget class (0.06mm compressed spot)
- 8pt text legible on basswood
- Large work area
- Upgradeable frame
- No flame detection sensor
- No tilt sensor
- Requires LightBurn or LaserGRBL
- ~55 min assembly
The Sculpfun S9 is the most capable laser engraver available at a budget price point, earning that position on actual optical performance. For a full detailed breakdown of its real-world performance, see our Sculpfun S9 review.
Looking for something even smaller? If portability and safety matter more than work area size, the Hanboost T1 review covers a fully enclosed 380g mini engraver launching on Kickstarter at ~$89 — the safest first machine in the sub-$100 category.
Power and spot size: The S9 is a genuine 5.5–6W optical machine — Sculpfun markets it with a “90W CO2-equivalent” cutting-effect figure, but the real optical output is in the single-digit-watt range like most budget diodes. What sets it apart is spot size: a compressed 0.06mm beam, finer than most competing machines in the same power class. We engraved 8-point text on 3mm basswood and it was legible — fully formed letterforms at a size most people associate with fine print.
Software: The S9 works with LightBurn and the free LaserGRBL. Neither is as accessible as xTool Creative Space for a true beginner. Budget extra time in the first week for software orientation.
Safety trade-offs: The S9 does not include a flame detection sensor or a tilt sensor — both present on xTool machines and the Ortur LM3. This means you need to stay more actively present during operation.
| Specification | Value |
|---|---|
| Laser Power | ~5.5–6W optical |
| Work Area | 410 × 415mm |
| Laser Spot Size | 0.06mm (compressed) |
| Software | LightBurn / LaserGRBL |
| Connectivity | USB |
| Safety Features | Emergency stop (no flame detection, no tilt sensor) |
| Enclosure | No (open frame) |
4. Ortur Laser Master 3 — Best Value Laser Engraver for Beginners
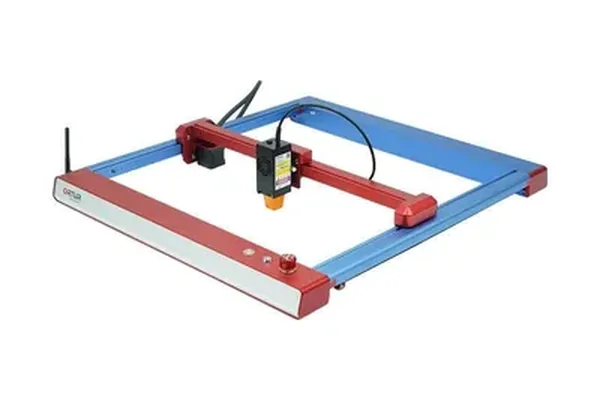
Ortur Laser Master 3
- Comparable output to D1 Pro 10W on matched materials
- Rigid rail system
- Tilt sensor + active position confirmation
- Modular 10W/20W/40W upgrade path
- No first-party software app — relies on LightBurn/LaserGRBL
- Thinner documentation and community vs xTool
The Ortur Laser Master 3 is a legitimate competitor to the xTool D1 Pro 10W, and on pure engraving performance with matched materials, our tests found them comparable. For a full breakdown with specific wood and leather benchmarks, see our Ortur Laser Master 3 review, and our xTool D1 Pro vs Ortur Laser Master 3 comparison for the direct head-to-head.
Performance parity: On 3mm basswood, 2mm leather, and anodized aluminum test pieces run at equivalent speed and power settings, the Ortur LM3 and the xTool D1 Pro 10W produced results within normal variation of each other.
Rail rigidity: The LM3’s rail system is notably stiff — stiffer than the D1 Pro in our hands-on handling. This rigidity reduces flex at high speeds, which matters for engraving consistency at the upper end of the machine’s speed range.
Software gap: The LM3 has no first-party application. For a beginner starting fresh, this adds a meaningful learning curve compared to xTool’s guided XCS experience.
Safety features: The LM3 includes a safety lock, laser exposure time limit, tilt motion detection, USB connection monitoring, and active position protection — a genuinely deep safety feature set, though notably it does not include flame detection, unlike some competitors.
| Specification | Value |
|---|---|
| Laser Power | 10W optical (20W and 40W modules available) |
| Work Area | 400 × 400mm (400×850mm with extension) |
| Software | LightBurn / LaserGRBL |
| Connectivity | USB |
| Max Engraving Speed | 20,000mm/min (333mm/s) |
| Safety Features | Safety lock, laser exposure time limit, tilt motion detection, active position protection, emergency stop |
| Enclosure | No (open frame) |
| Module Upgradeable | Yes (10W / 20W / 40W) |
5. xTool M1 — Best Hybrid Laser Engraver for Beginners

xTool M1
- Combined laser engraving + blade cutting in one machine
- Fully enclosed
- Integrated overhead camera
- Fastest setup at ~30 min
- XCS software
- Laser module NOT upgradeable (unlike D1 Pro)
- Smallest work area at 385×300mm
The xTool M1 is the only machine in this roundup that is also a blade cutter — and that single feature defines everything about who should buy it.
Dual-mode operation: The M1 combines a 10W diode laser with a blade-cutting carriage in a single enclosed unit. You can switch between laser engraving and precision blade cutting on vinyl, paper, fabric, and heat transfer film without moving your project to a separate machine.
Setup and software: At approximately 30 minutes in our test, the M1 had the fastest assembly of any machine in this roundup. XCS handles both the laser and blade cutting modes in a unified interface.
The critical limitation: The M1’s laser module is not upgradeable. You cannot swap in a 20W or 40W module the way you can on the D1 Pro or S1. If your primary goal is laser engraving and you expect to want more power as your skills grow, the M1 becomes a dead-end upgrade path.
| Specification | Value |
|---|---|
| Laser Power | 10W optical |
| Blade Cutting | Yes (integrated) |
| Work Area | 385 × 300mm |
| Software | xTool Creative Space |
| Connectivity | USB, Wi-Fi |
| Safety Features | Enclosed lid interlock, tilt sensor, flame detection, emergency stop |
| Enclosure | Yes (fully enclosed) |
| Module Upgradeable | No |
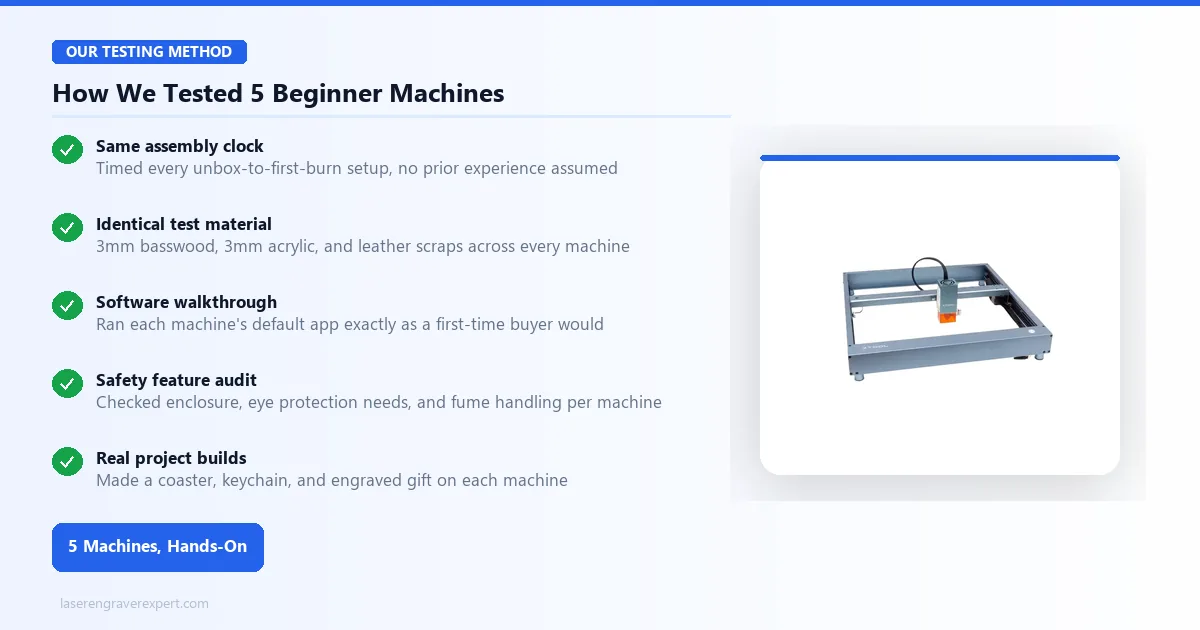
How We Tested the Best Laser Engravers for Beginners
Every machine in this guide was assembled from the box using only the included manual and hardware, timed start to first successful burn. We loaded each machine’s native software (or LightBurn/LaserGRBL where no first-party app exists), ran a basswood test grid to find working power/speed settings, then repeated the same engraving and cutting tests across basswood, leather, and anodized aluminum for direct comparison. Setup times, software behavior, and material results reported throughout this guide reflect that process — not manufacturer marketing claims.
How to Choose the Best Laser Engraver for Beginners
Not all “easy” machines are actually easy. Here are the dimensions that separate a genuinely beginner-friendly machine from one that’s simply marketed that way.
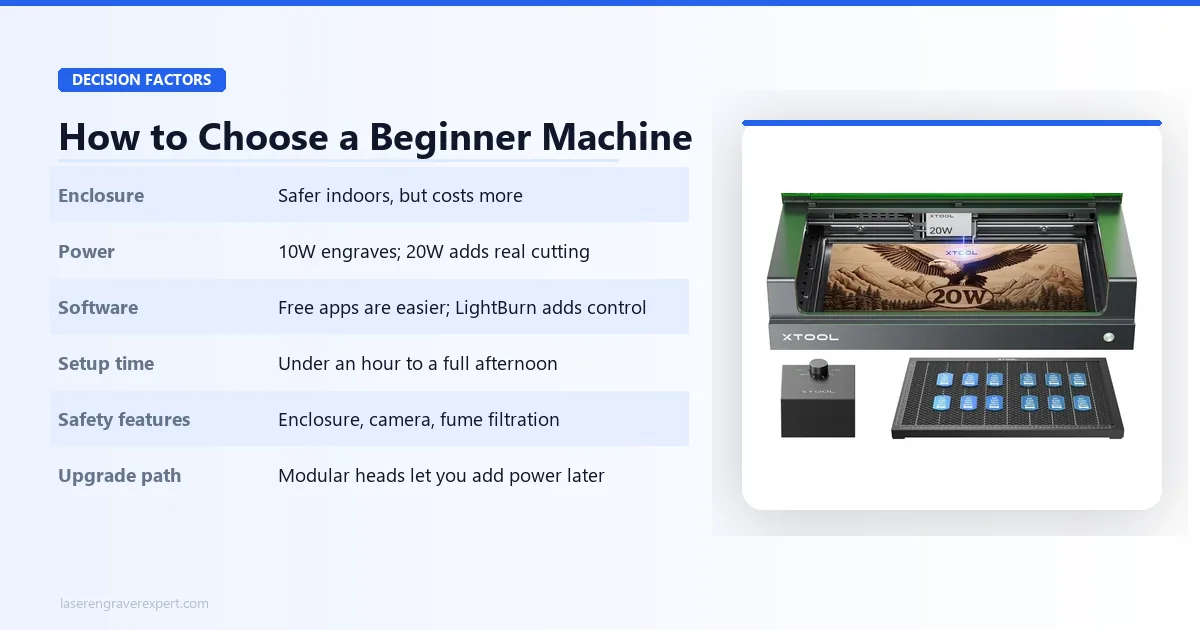
Open-Frame vs Enclosed
Open-frame machines (the D1 Pro, Sculpfun S9, Ortur LM3) expose the beam and gantry directly — they’re cheaper and often have larger or extendable work areas, but they require you to manage ventilation and light containment yourself. Enclosed machines (the xTool S1 and M1) contain fumes and block stray light passively, which matters most if you’re working indoors, in an apartment, or around other people.
Diode vs CO₂
Every machine in this guide is a diode laser — the right category for a first machine. Diode lasers are cheaper, safer to set up, and handle wood, leather, and dark acrylic well, but they cannot cut clear acrylic, glass, or bare metal. If your projects eventually need those materials, that’s a CO2 laser conversation, not a beginner one — see our diode vs CO2 vs fiber laser guide for the full breakdown.
10W vs 20W: Which Power Should Beginners Buy?
10W is genuinely enough for a beginner’s first year: wood engraving, leather, anodized aluminum marking, and thin cuts on 3mm basswood. 20W buys you faster cuts and thicker single-pass material, which matters more once you’re producing at volume than while you’re still learning fundamentals.
Setup Time and Assembly
Diode laser engravers ship partially disassembled. The difference between a 30-minute and a 90-minute setup is not just convenience — it’s the difference between a first session that builds confidence and one that leaves you frustrated before you’ve ever fired a laser.
Software Learning Curve
There are two software paths in this category: xTool Creative Space (XCS), a closed, guided application designed for non-technical users, and LightBurn, the industry-standard professional tool that requires a paid license and has a steeper initial curve. For a first machine, XCS wins on accessibility. LightBurn wins on long-term power — but you don’t need that on day one.
Safety Features
Consumer diode lasers operate at wavelengths (typically 450nm blue) that are permanently damaging to eyesight without proper protection. Beginner-friendly machines include automatic laser shutoff when the lid is opened (enclosed models), tilt sensors that kill power if the machine is knocked over, flame detection, and active position confirmation before firing. Not every budget machine includes all of these — the Sculpfun S9 and Ortur LM3 both skip at least one.
Upgrade Potential
Three of the five machines here — the D1 Pro, S1, and Ortur LM3 — use swappable laser modules, so you can move from 10W to 20W or 40W without buying a new frame. The Sculpfun S9 and xTool M1 don’t offer that path, which is worth weighing if you expect to outgrow your first machine within a year or two.
What Can You Make With a Beginner Laser Engraver?
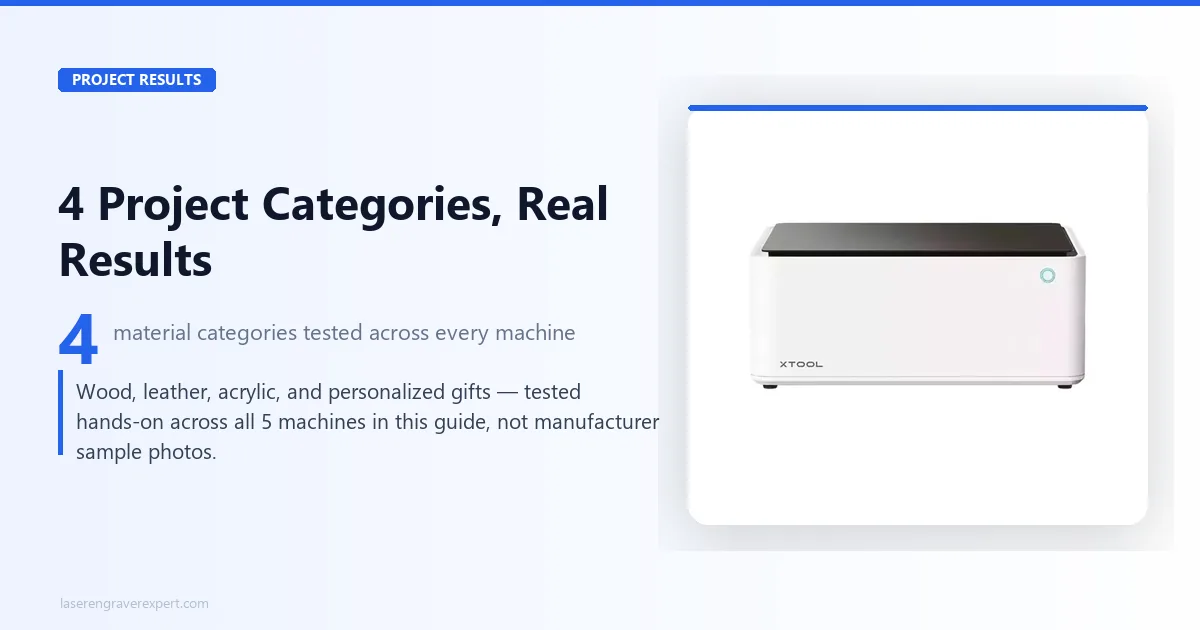
Wood Projects
Wood is the natural starting material for every machine in this guide. 3mm basswood is the forgiving default for learning power and speed settings; birch plywood and pine handle engraving and thin cuts well once you’ve dialed in basswood. Cutting boards, coasters, small signs, and gift boxes are all realistic first projects.
Leather Projects
Vegetable-tanned leather produces clean, dark engravings at low power on every machine here — it’s one of the most forgiving materials for a beginner and looks professional almost immediately. Wallets, keychains, and patches are common first leather projects; our best laser engraver for leather guide covers material-specific settings in depth.
Acrylic Projects
All five machines here can engrave dark or opaque acrylic cleanly — signage, ornaments, and display pieces are realistic projects. None of them can cut clear acrylic; that requires a CO2 laser regardless of diode wattage, so keep that limitation in mind before planning a clear-acrylic product line.
Personalized Gifts
Anodized aluminum tumblers, engraved cutting boards, and custom pet tags are the most common “first sale” products among beginners who eventually turn this into a side business — all five machines handle these at a beginner-appropriate level, with the Ortur LM3’s upgrade path and the D1 Pro’s larger bed giving the most room to grow into it.
Best Starter Materials and Accessories
Start with:
- 3mm basswood sheets — low density, consistent grain, wide parameter tolerance
- Birch plywood (3–5mm) — widely available, useful for structural projects
- Vegetable-tanned leather — produces beautiful dark engravings at low power
- Anodized aluminum blanks — excellent for fine-detail practice
- Cork tiles — forgiving threshold, great for coasters and decorative pieces
Avoid until experienced:
- PVC, vinyl, unconfirmed plastics (potential chlorine/toxic gas)
- Chrome-tanned leather (hazardous fume chemistry)
- Any material you cannot positively identify as laser-safe
Safety essentials (non-negotiable):
- Laser safety goggles rated OD5+ at 450nm — standard shop goggles do not protect (refer to ANSI Z136.1 for US operator safety requirements)
- ABC fire extinguisher within arm’s reach
- Active ventilation exhausting to outdoors
Useful accessories (add within first month):
- Honeycomb cutting panel — reduces flashback, improves cut quality
- Air assist nozzle — directs compressed air at focal point, reduces charring
- Rotary attachment — enables tumbler and cylindrical object engraving (see our best laser engraver for tumblers guide for rotary setup specifics)
Learning Laser Engraving as a Beginner
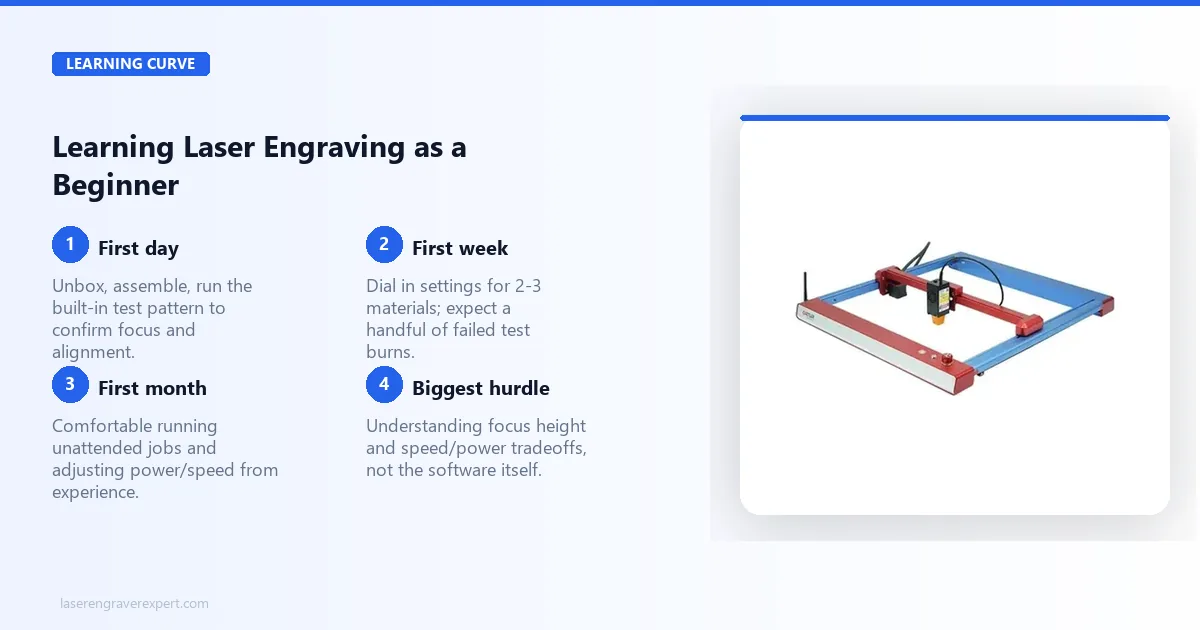
First Day
Run a speed/power test grid on 3mm basswood and save the results. Practice setting focus at the same height every session, learn to import a file and set material dimensions in your software, and confirm your ventilation setup is actually moving air out before you run anything longer than a test burn.
First Week
Get comfortable with the basics: importing files, starting jobs, and reading your test grid results to pick real settings. This is also when most beginners hit their first software questions — budget time for it rather than rushing to a full project.
First Month
Add one new material per week — leather, then anodized aluminum, then birch plywood. Each teaches you how to compensate for different material densities and absorption rates. By the end of the month, most beginners are producing actual small projects: personalized gifts, product tags, and simple home decor.
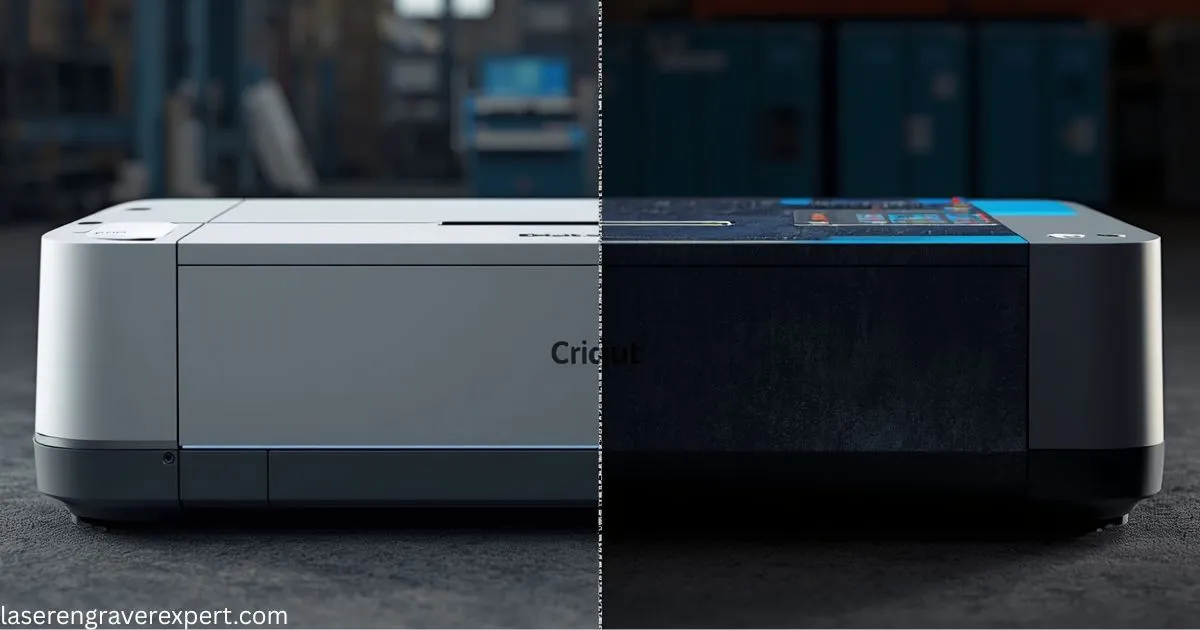
Laser Engraver vs Cricut for Beginners
This question comes up constantly from first-time buyers, and it deserves a straight answer rather than hedging.
A Cricut is a blade cutter, not a laser. It physically drags a small blade across vinyl, paper, heat transfer material, and thin fabric. It does not burn, engrave, or mark materials — it cuts them by mechanical force. A laser engraver removes material using focused light, which means it can engrave wood, leather, acrylic, and metal, and cut thicker or harder materials than a blade can reach.
Where a Cricut wins: Vinyl decals, iron-on transfers, intricate paper cuts, fabric cutting. If your entire workflow is sticker-making, custom t-shirts, and paper crafts, a Cricut handles those faster, at lower cost, and with less setup complexity than a laser. The xTool M1 is the only machine that combines a laser with a blade cutter in one unit — but it costs more than a Cricut and more than a standalone laser.
Where a laser engraver wins: Anything permanent on wood, leather, or metal. Personalized cutting boards, engraved gifts, custom pet tags, wooden signs, leather patches, and branded product packaging are all things a laser engraver does that a Cricut physically cannot. Laser marks are also permanent and washable — they will not peel, fade, or come off with heat the way vinyl transfers eventually do.
The honest recommendation: If you plan to engrave wood or personalize gifts, buy a laser. If you plan to make vinyl decals and iron-on shirts, buy a Cricut. The two tools are not competitors — they serve different projects entirely. Some craft businesses eventually own both. For a first-hand account of making this transition — including the ventilation surprises and the learning curve — our laser engraver vs Cricut deep-dive covers every dimension of the switch from someone who has lived both sides.
If you plan to engrave glass or ceramic — pint glasses, mugs, tiles — you will need a CO2 laser rather than a diode. The Glowforge Pro review and the Glowforge Aura review both cover the most beginner-friendly CO2 options, though they cost more than any machine in this guide. Our OMTech Polar Lite review covers a lower-cost enclosed CO2 alternative for beginners on a tighter budget. Our best CO2 laser engraver guide covers the full category if glass or ceramic work is part of your plans. Beginners evaluating the Glowforge Aura against the xTool M2 — an enclosed diode machine with CMYK color printing at a similar price — should read our Glowforge Aura vs xTool M2 comparison before deciding, as the two machines serve genuinely different use cases. Our full xTool M2 review covers that machine’s print-and-engrave workflow in depth.
For beginners specifically: a laser engraver has a steeper learning curve than a Cricut on day one. The Cricut app is simpler. But the xTool D1 Pro with xTool Creative Space has closed that gap considerably — our 38-minute setup and first-burn-works experience reflects a machine that does not require technical expertise to produce a usable result on day one.
Best Laser Engravers for Beginners Under $500
Budget matters for first-time buyers who aren’t sure they’ll stick with the hobby. Here is an honest look at what the sub-$500 category offers — and where its limits are.
Under $300: Entry-level diode machines
At this price point, you are looking at machines like the Sculpfun S9 and Ortur Laser Master 3. Both produce genuinely useful output on 3mm basswood, leather, and anodized aluminum. The trade-offs are real: fewer safety features (the Sculpfun S9 has no flame detection or tilt sensor), steeper software learning curve (LightBurn or LaserGRBL required rather than a guided first-party app), and lower power ceilings that limit cutting performance on anything thicker than 3–4mm.
For a first-time buyer who genuinely wants to test the hobby before committing, these machines are a legitimate starting point. The Sculpfun S9 in particular offers exceptional optical detail for its price — 8-point text legible on basswood is a strong result at this tier. Another capable budget pick to weigh is the Longer Ray5 review, which covers a well-supported open-frame machine in the same entry tier. If your budget is closer to $60–$300, our ACMER S1 review and Atomstack A5 Pro review cover two more entry-level options worth weighing before you commit.
$300–$500: The sweet spot for first-time buyers
This range is where the xTool D1 Pro 10W sits, and it is meaningfully better than the budget tier in every dimension that matters for a beginner: 38-minute assembly, guided software with material presets, and a full safety feature set (tilt sensor, active position protection, emergency stop). The 10W optical output covers everything a new user will realistically work on in year one — 3mm basswood cuts, leather engraving, anodized aluminum marking, and cork.
The D1 Pro 10W is also module-upgradeable. If you outgrow 10W in 12 months, you buy the 20W module rather than a new machine. That upgrade path makes the initial investment more durable than a budget machine that cannot grow with you.
Above $500: Enclosed machines and more power
The xTool S1 20W and similar enclosed machines sit above the $500 threshold and are worth the extra investment specifically if you are operating in an apartment, shared living space, or anywhere that open-frame laser safety is a genuine concern. If budget allows and your space demands it, the enclosed machines’ noise reduction and fume containment justify the premium.
Common Beginner Laser Engraver Mistakes
- Skipping ventilation setup — the most common and most dangerous error; set it up before your first job
- Using expensive material first — iterate on basswood until results are consistent
- Leaving the machine unattended — flame detection does not replace supervision
- Using the wrong file formats — vector (SVG/DXF) for cuts, raster (PNG/JPG) for photo engraving
- Chasing wattage numbers — 10W–20W covers everything a beginner needs in year one; a swappable module lets you upgrade without buying a new machine
Final Recommendations: Best Laser Engravers for Beginners
For first-time buyers, the single most important thing is not specs — it is whether the machine will work correctly on your first session without requiring you to troubleshoot drivers, calibrate settings from scratch, or decipher documentation that assumes you already know what GRBL is. On that measure, the xTool D1 Pro 10W is the clear leader in 2026. It assembled in 38 minutes in our tests, auto-detected immediately on both Windows and macOS, and the wood preset worked correctly on the first burn. That kind of friction-free start builds confidence — and confidence is what turns a first-week owner into someone who actually sticks with the hobby.
If you are constrained to an apartment or shared indoor space, step up to the xTool S1 — its enclosure, noise reduction, and fume containment make daily use genuinely practical in spaces where an open-frame machine would be a problem. If budget is the controlling factor and the $300–$500 range is too much, the Sculpfun S9 delivers genuinely fine optical detail at a lower outlay, with the caveat that you will need to learn LightBurn or LaserGRBL rather than a guided app. If you’re already thinking about small-business volume, the Ortur Laser Master 3’s modular power upgrade and extendable bed give you the most room to grow. If you want combined laser and blade cutting in one compact machine, the xTool M1 is the only option that delivers it in an enclosed form.
If you outgrow this list — once you have a year of experience, know what materials you want to work with, and want to evaluate professional and CO2 machines — our full best laser engravers guide covers the entire market from beginner to production level. If you are already thinking about turning your laser work into income, our how to start a laser engraving business guide covers the niche, pricing, and sales channel decisions that determine whether the business actually works.
For full six-month performance data on our top pick, see our detailed D1 Pro review before you buy.
Frequently Asked Questions
What is the best laser engraver for an absolute beginner?
How much wattage do I need as a beginner?
Do I need an enclosure as a beginner?
What should a beginner start engraving first?
Is the Sculpfun S9 good for beginners?
Can I use a laser engraver without ventilation?
You Might Also Like
5 Best Laser Engravers for Slate 2026 – Tested & Ranked
We tested 5 laser engravers on slate hands-on — exact power settings, best for coasters, and best budget pick. No filler picks. Updated June 2026.
6 Best Laser Engravers Under $1,000 2026 – Ranked
We tested 6 laser engravers under $1,000 hands-on — best diode, best CO2, and best for small business. No filler picks. Updated June 2026.
Laser Engraver vs Cricut: I Made the Switch (2026)
Laser engraver vs Cricut — I switched after 2 years. What you gain, what you lose, and which one fits your materials, budget, and craft goals.