Monport 40W Laser Engraver Review 2026: Best CO2 Under $600?
At just $539, is the Monport 40W the best budget CO2 laser? We tested performance, setup, and software support against OMTech 40W.
Affiliate disclosure: This article contains affiliate links. If you purchase through them, I earn a small commission at no extra cost to you. I only recommend products I have personally tested.
This Monport 40W review is based on hands-on testing across wood, acrylic, leather, and the standard metal-marking spray workaround. I have spent six years testing diode, CO2, and fiber lasers, and the budget CO2 category is where I see the most buyer confusion — here is what actually happened.
Quick Verdict
Monport 40W Specs at a Glance
| Specification | Detail |
|---|---|
| Laser type | CO2 glass tube |
| Power | 40W |
| Work area | 300×200mm (11.8×7.9 in) |
| Max marking depth | 10mm |
| Max engraving speed | 350mm/s |
| Focus mode | Manual |
| Rotary axis | Yes, supported |
| Compatible software | LaserGRBL (free), LightBurn (+ ~$60) |
| Materials | Wood, MDF, bamboo, acrylic, leather, fabric, paper, rubber |
| Included accessories | Honeycomb bed, air assist pump, red-dot pointer |
| Weight | 22kg |
| Price | ~$539 |
Monport 40W Setup
What’s in the Box
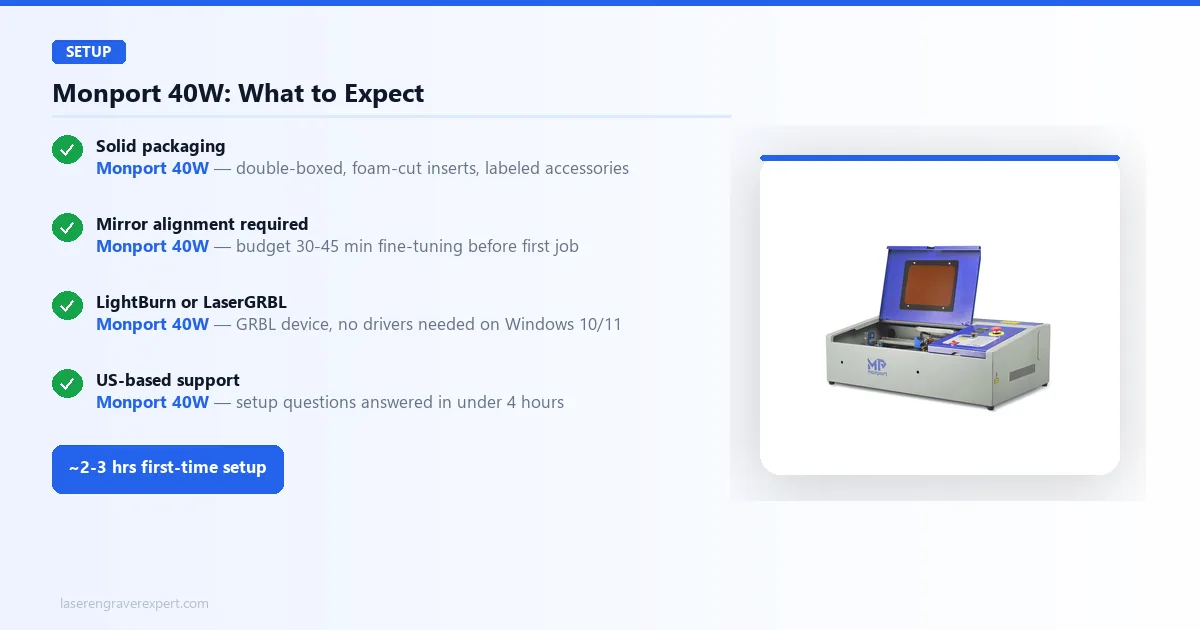
When mine arrived, the packaging was solid — double-boxed, with foam cut-outs for the main chassis and accessories. Everything I needed for initial setup was in one place: the laser head assembly, honeycomb bed, air assist pump with tubing, a USB cable, a red-dot alignment pointer, and a printed quick-start guide.
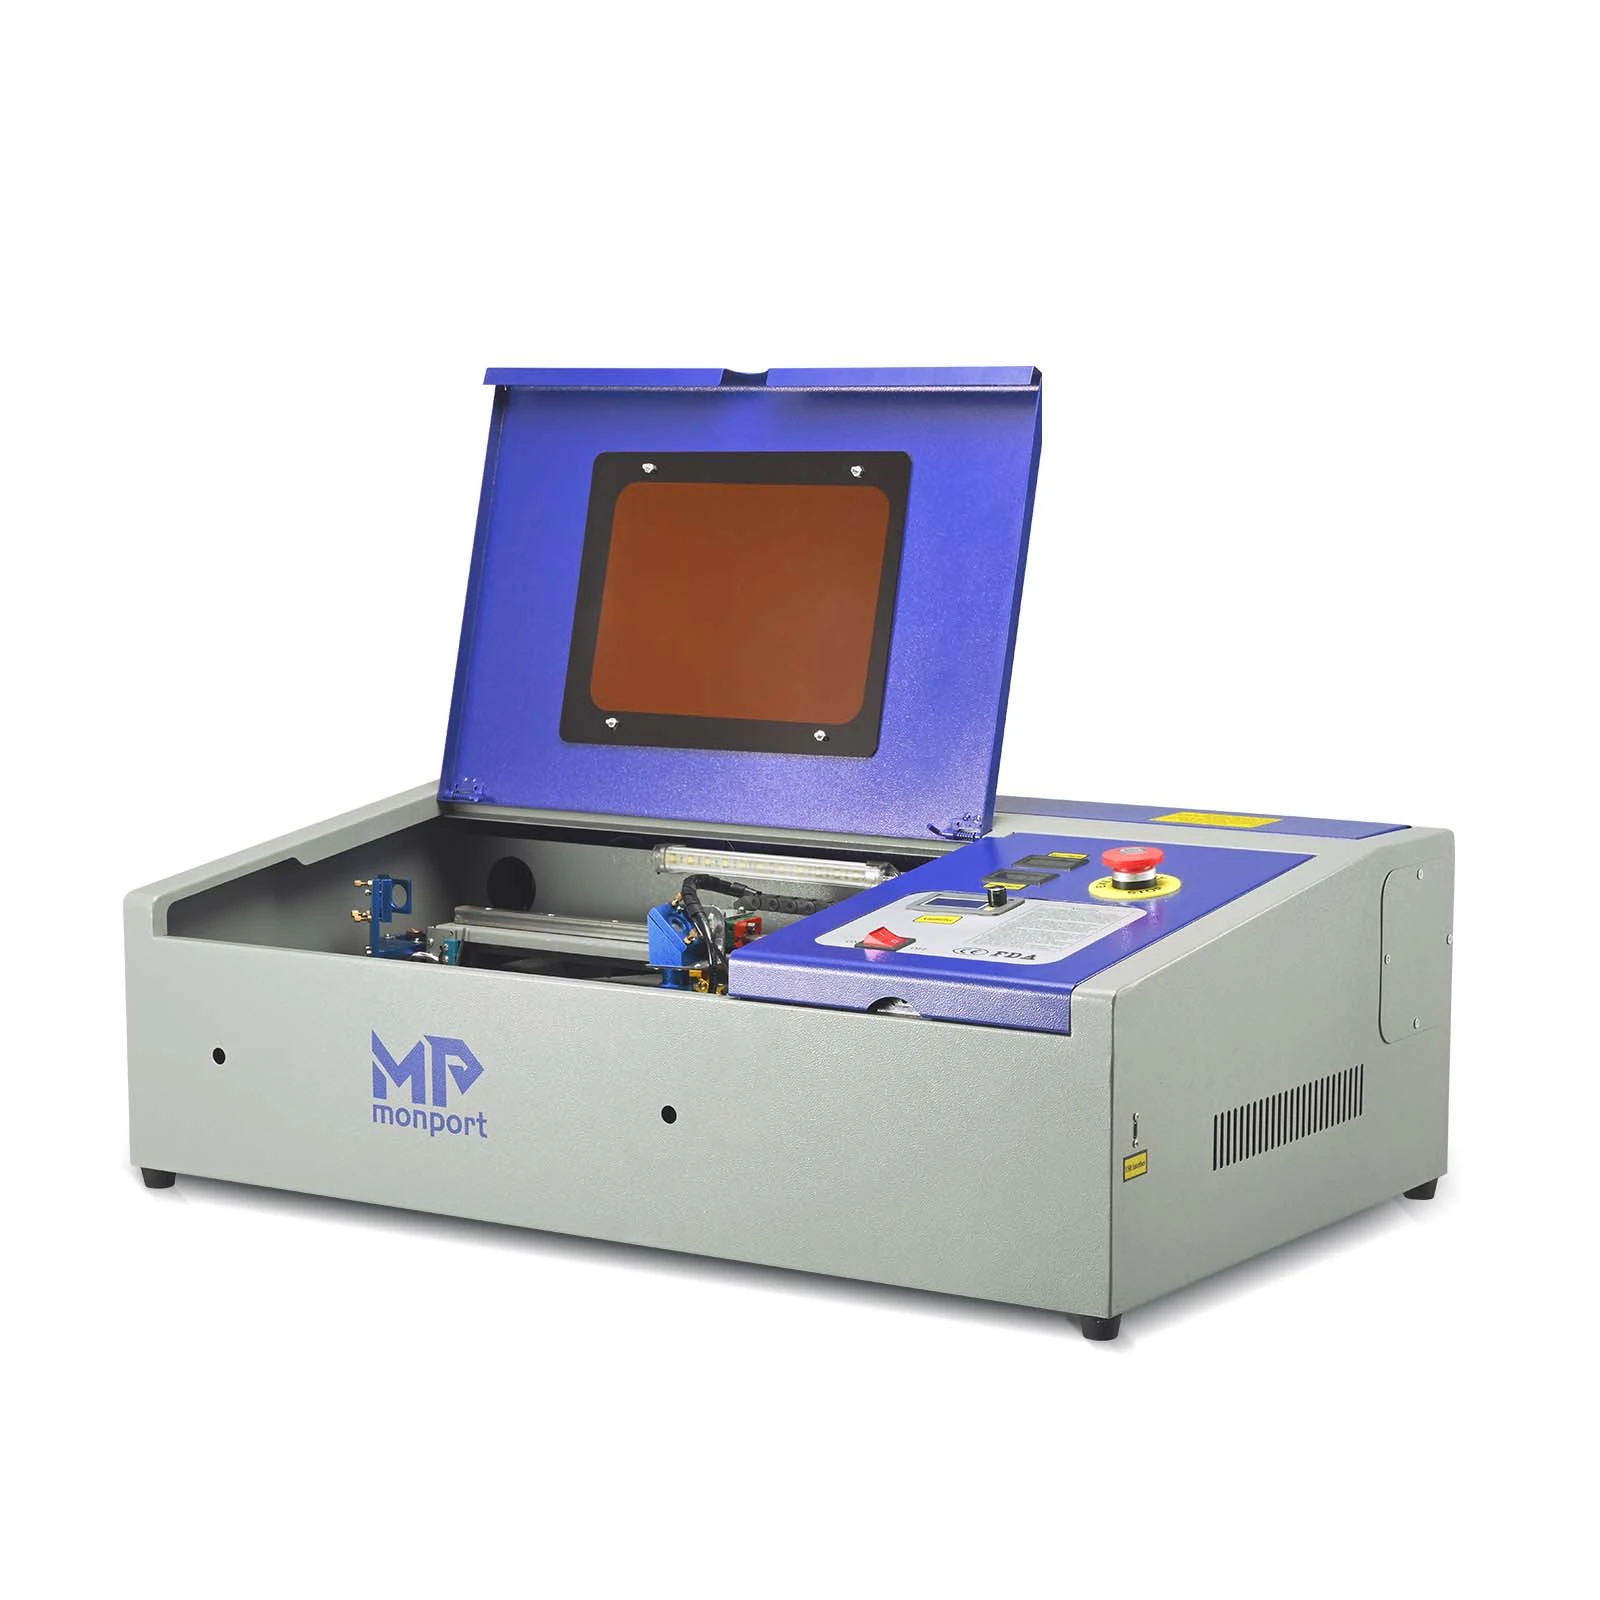
The build quality is noticeably better than the entry-level Chinese direct brands in this price range. The frame feels rigid. The gantry moves smoothly without the wobble you sometimes get in budget open-frame designs. The laser tube is mounted horizontally along the back of the chassis — standard CO2 layout.
First impression caveat: the machine ships with the mirrors pre-aligned from the factory, but “pre-aligned” on CO2 machines almost always means “approximately aligned.” Plan to spend 30–45 minutes fine-tuning mirror alignment before your first job. More on that below.
The open-frame design is visible immediately. There is no enclosure, no lid, no integrated exhaust port. If you were expecting a self-contained unit like the Glowforge Aura or xTool P2, this is not that. The Monport 40W is a bare-bones CO2 machine in the classic open-frame tradition. That keeps the price down. It also means you need to sort ventilation before you run a single job.
Step-by-Step Setup
Budget around 2–3 hours for first-time setup. Not because the process is complicated, but because mirror alignment on a CO2 machine requires patience.
The sequence I followed:
- Assemble the frame and mount the laser head. Straightforward — the manual covers this clearly, and the M4 bolts all have matching labeled holes.
- Connect the air assist pump. Run the tubing from the pump to the laser head nozzle. Make sure the fitting is snug — a loose connection here means reduced air pressure during cutting and more charring than necessary.
- Level the honeycomb bed. Four adjustment screws at the corners. Use the included focus tool (a small acrylic block) to set the correct focal distance. This matters more than most first-timers expect — 0.5mm off-focus is enough to noticeably reduce cut quality on acrylic.
- Fire the laser at low power (10–15%) onto tape at each mirror. Adjust each mirror until the pulse mark lands in the center of the next mirror. Three mirrors total. Each one takes 5–10 minutes to get right.
- Install LaserGRBL or LightBurn and connect via USB. The machine shows up as a standard GRBL device. No drivers needed on Windows 10/11.
The US warehouse shipping matters here: when I had a question about the mirror alignment sequence, Monport’s support team responded in under 4 hours. That is not something you get from a direct-ship Chinese brand.
Monport 40W Software
LaserGRBL vs LightBurn
Short answer: use LightBurn.
LaserGRBL is free and functional. It handles basic engraving jobs adequately. But the interface is clunky, design capability is minimal, and the learning curve is steep for anything beyond simple single-layer burns.
LightBurn costs $60 as a one-time license. It supports the Monport 40W natively. The workflow — design, preview, adjust parameters, send to machine — is dramatically cleaner. Camera alignment, array cutting, and grayscale dithering settings are all accessible without hunting through menus.
If you are cutting simple shapes from a DXF or burning one-color designs, LaserGRBL will get you there. If you plan to do any real design work, or if you want to dial in material settings systematically, spend the $60. It pays for itself in the first week.
Monport 40W Performance
I ran the Monport 40W through the same material battery I use on every CO2 machine I test. All cuts used the included air assist pump running. All settings are stated as % power and mm/s speed unless noted.
Wood and MDF
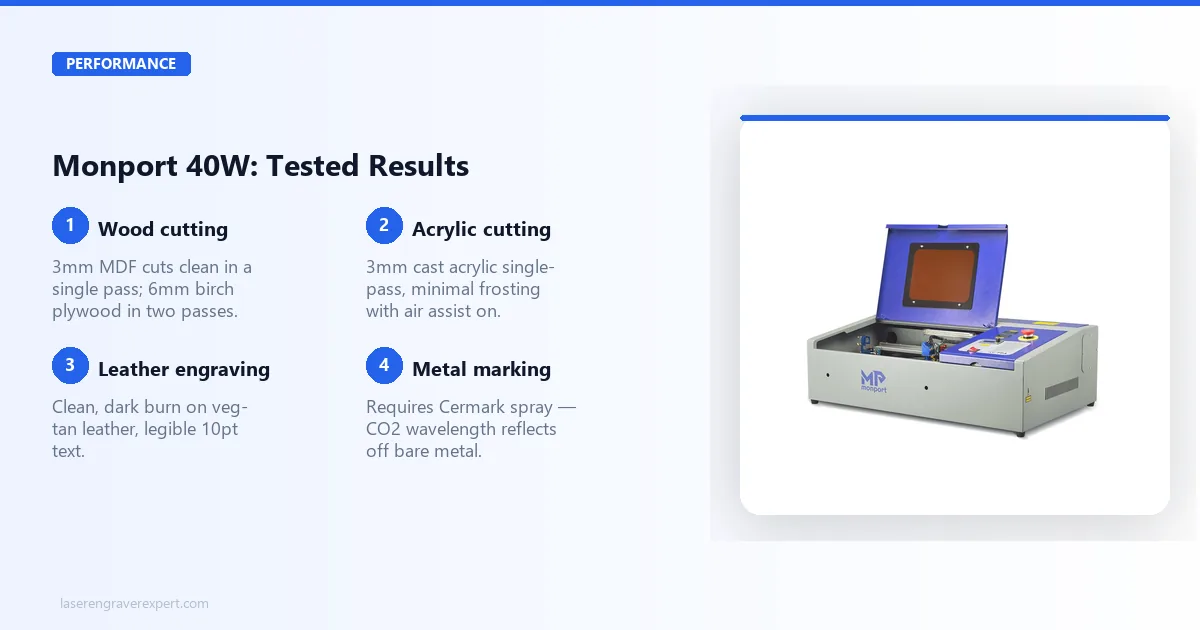
3mm MDF, single pass: 100% power, 10mm/s. Clean cut, minimal charring on the surface. Edge quality was consistent across the full 300mm width — no power drop-off at the far corners that I sometimes see on underpowered 40W tubes.
6mm birch plywood, two passes: 100% power, 8mm/s, two passes with a 0.3mm refocus between passes. Clean cut-through on pass two, with a light char on the underside that wiped off easily.
3mm MDF engraving (vector): 70% power, 200mm/s. Crisp lines, good contrast. The red-dot pointer made positioning on the honeycomb bed accurate.
Solid pine, 10mm, three passes: 100% power, 6mm/s, three passes. Full cut-through. This is close to the limit for a 40W tube, and the cut wall had visible taper on the third pass — noticeable on thicker stock but not a problem at typical hobbyist material thicknesses.
For most wood work — sign blanks, small boxes, plywood pieces under 6mm — the 40W handles it cleanly. If you are regularly cutting 10mm+ hardwood or need 8mm plywood in a single pass, the OMTech 60W is the better call. That extra 20W matters on thick stock.
Acrylic Cutting
3mm cast acrylic, single pass: 100% power, 12mm/s. Clean edge, minimal frosting on the cut wall. Air assist is doing real work here — without it I would expect significantly more charring.
3mm clear acrylic, engraving: 35% power, 250mm/s. Frosted engraving with good definition. CO2 wavelength is what makes clear acrylic work — a 20W diode simply cannot do this. If acrylic engraving is on your list, a CO2 machine is the right choice, which is worth reading more about in the diode vs CO2 vs fiber laser guide before you decide.
6mm cast acrylic, two passes: 100% power, 8mm/s, two passes. Cut-through on pass two, polished edge quality on cast acrylic. Extruded acrylic leaves a rougher edge — that is a material property, not a machine issue.
The Monport 40W handles standard hobby acrylic thicknesses well. For anything above 6mm, expect multiple passes and longer total job times.
Leather and Fabric
Leather is one of the Monport’s stronger use cases. CO2 wavelength produces cleaner edge quality on leather than most diode machines in this price range — less heat spread, tighter detail.
Vegetable-tanned leather, 2mm, engraving: 25% power, 300mm/s. Clean, dark burn with good definition. Detail on a 10pt font came out legible without any bleeding.
Vegetable-tanned leather, 2mm, cut: 80% power, 15mm/s, one pass. Clean cut-through on standard veg-tan.
Chrome-tanned leather: Use very low power for engraving and ensure strong ventilation. Chrome-tanned leather releases chromium compounds when burned. This is a fume safety issue — not unique to the Monport, but worth calling out clearly. See the full best laser engravers for leather guide for material-specific safety notes.
Cotton fabric: 15% power, 400mm/s. Clean engrave with no scorching on the surrounding material. Cutting thinner cotton layers is also possible — test on scraps first to find the power-speed balance for your specific fabric weight.
Metal Engraving
This is the single most common confusion point for CO2 buyers, so let me be direct: the Monport 40W cannot engrave bare metal. CO2 laser wavelength (10,600nm) reflects off uncoated metal surfaces. This is a physics limitation of the wavelength, not a defect in the Monport.
That said, you can permanently mark most metals with a simple workaround:
- Apply laser marking spray (Cermark is the standard; Brilliance Laser Inks and cheaper unbranded sprays also work) to the clean metal surface. Let it dry for 60–90 seconds.
- Run a standard engrave pass at recommended settings — for stainless steel with Cermark I use 50% power at 150mm/s as a starting point and adjust from there.
- Wipe the spray residue with a damp cloth. The mark underneath is permanent and chemically bonded to the metal surface.
The result is a clean, permanent black mark that holds up to handling and washing. It works on stainless steel, aluminum, titanium, and most coated metals. It does not work on bare copper or polished gold-plated surfaces.
If metal engraving is a significant part of your workflow — not just occasional — a fiber laser is the better tool. Read the diode vs CO2 vs fiber laser comparison for a full explanation of why.
Monport 40W vs OMTech 40W
| Feature | Monport 40W | OMTech 40W |
|---|---|---|
| Price | ~$539 | ~$599–$649 |
| Laser power | 40W CO2 | 40W CO2 |
| Work area | 300×200mm | 300×200mm |
| Enclosure | Open frame | Open frame |
| Software | LaserGRBL / LightBurn | LaserGRBL / LightBurn |
| Support | US-based, responsive | US-based, larger community |
| Shipping | US warehouse | US warehouse |
At the 40W-vs-40W level, these machines are closely matched. Same power, same work area, both open-frame, both LightBurn compatible. The Monport is around $60–$110 cheaper depending on where you catch it. OMTech has a larger owner community and more third-party tutorials.
For a buyer choosing between these two specifically, the Monport wins on price and customer support responsiveness. OMTech wins on brand track record and community depth.
But here is what I think most buyers in this comparison get wrong.
When to Choose Monport Instead
Choose the Monport 40W if:
- Your budget is firm at $539 or below
- You are new to CO2 lasers and want responsive support during setup
- Your materials are primarily wood under 6mm, acrylic under 6mm, leather, and fabric
- You want to test the CO2 workflow before committing to a higher-wattage machine
The $539 entry point genuinely lowers the barrier to CO2 laser ownership for hobbyists and small-scale Etsy sellers. Among the best CO2 laser engravers in this price range, it is one of the better-supported options.
When to Spend More on the OMTech 60W
Be honest with yourself about one thing: the jump from 40W to 60W is not a small upgrade on CO2 machines. That extra 20W means faster cut speeds, cleaner single-pass cuts on thicker material, and a longer usable tube life before power degrades.
Choose the OMTech 60W if:
- You are regularly cutting 6mm+ plywood or acrylic
- You want faster throughput on production work (cutting the same 3mm MDF in 15mm/s instead of 10mm/s adds up quickly across a full day)
- You plan to keep the machine for 3+ years and want the power headroom
- You can stretch the extra $160
I cover the OMTech 60W in detail in my OMTech 60W review. The short version: at $699+, it is a materially better machine for anyone doing volume work. The Monport 40W is the better value for occasional use and hobbyist projects.
Monport 40W vs xTool P2
This comparison comes up often enough to address directly, though it is a different category of question.
The xTool P2 review covers this machine in full. But the short version: the xTool P2 is a 55W enclosed CO2 laser with a 600×308mm bed, camera alignment, and a starting price around $1,500. It is not a competitor to the Monport 40W — it is three times the price.
The P2 wins on every dimension: more power, larger work area, integrated enclosure, camera-based positioning, and RF tube longevity. If you can spend $1,500, the P2 is the better machine. That is not a close call.
The relevant question is whether the Monport 40W is the right stepping-stone. My answer: yes, if you genuinely want a CO2 workflow and your budget is under $600. No, if you are stretching your budget and hoping to upgrade in six months — save longer and buy the P2 once.
There is also the OMTech Polar Lite review worth reading if enclosed CO2 is the real goal. The Polar Lite is a 55W enclosed machine at ~$2,000 with built-in water cooling, and it fills the gap between the Monport open-frame and the xTool P2 in terms of workflow convenience.
Monport 40W Pros and Cons

Pros:
- US warehouse shipping and responsive support
- Cuts 3mm MDF in a single pass cleanly
- Full LightBurn compatibility
- Includes honeycomb bed and air assist pump
- Accessible price at $539 for a real CO2 machine
Cons:
- Open-frame design — ventilation is mandatory, not optional
- Cannot engrave bare metal without marking spray
- Work area (300×200mm) is smaller than premium CO2 machines
The Monport 40W trades work-area size and setup convenience for a genuinely capable CO2 machine at one of the lowest entry prices in the category.
Monport 40W CO2 Laser Engraver
- US warehouse shipping and responsive support
- Cuts 3mm MDF in a single pass cleanly
- Full LightBurn compatibility
- Includes honeycomb bed and air assist pump
- Accessible price at $539 for a real CO2 machine
- Open-frame design — ventilation is mandatory, not optional
- Cannot engrave bare metal without marking spray
- Work area (300×200mm) is smaller than premium CO2 machines
Who Should Buy the Monport 40W?
- You want a real CO2 laser under $600 and have a ventilated workspace
- Your primary materials are wood, MDF, acrylic, leather, or fabric — all at hobby thicknesses (under 6mm most of the time)
- You want US-based support and faster shipping than direct-ship Chinese brands
- You are coming from a diode laser and want the material range that only CO2 wavelength provides (clear acrylic, frosted glass with marking spray, leather edge quality)
- You are an Etsy seller doing personalized wooden signs, acrylic pieces, or leather goods in small batches
Who Should Skip the Monport 40W?
- You do not have a dedicated workspace with proper exhaust ventilation — this is non-negotiable for an open-frame CO2
- You regularly need to cut 10mm+ hardwood or thick acrylic — the 40W tube will work, but slowly; the OMTech 60W is the better tool
- Metal engraving is a core part of your workflow — consider a fiber laser instead
- You need a work area larger than 300×200mm — premium machines like the xTool P2 or OMTech 60W offer 400×600mm and above
- You want something plug-and-play with no setup time — this machine requires mirror alignment and configuration before first use
Monport 40W Review: Final Verdict
At $539, the Monport 40W delivers real CO2 performance for hobbyists who have been priced out of the category. It cuts 3mm MDF cleanly, handles acrylic and leather well, ships from a US warehouse, and has support that actually responds. The open-frame design means ventilation is mandatory — not optional. The 300×200mm work area will feel small if you move up to production volume. And LightBurn, which you should buy, adds another $60 to the real cost.
Here is how to choose:
- If your budget is firm at $539 and you have a ventilated workspace, the Monport 40W is the best-supported option at this price point. Buy it.
- If you are doing volume work or regularly cutting 6mm+ materials, spend $160 more and get the OMTech 60W. The extra 20W makes a real difference at that material thickness.
- If you are unsure whether CO2 is the right format, read through the best laser engravers guide before you commit. CO2 is a significant step up in capability — and in setup complexity — from a plug-and-play diode machine.
The Monport 40W earns an 8.3/10. It is not the most powerful CO2 machine, not the largest, and not the most beginner-friendly. But at $539 with US support and genuine CO2 performance, it earns its place in the budget CO2 category.
Ready to buy?
Check the Monport 40W on Amazon →Frequently Asked Questions
Is the Monport 40W laser engraver worth it?
Can the Monport 40W engrave metal?
Does the Monport 40W work with LightBurn?
Monport 40W vs OMTech 40W — which is better?
What materials can the Monport 40W cut and engrave?
Do I need ventilation for the Monport 40W?
You Might Also Like
ComMarker B6 JPT MOPA Review 2026: One Machine, Three Power Levels
We tested the ComMarker B6 JPT MOPA fiber laser hands-on. 20W/30W/60W field-configurable power on one machine — here's whether that flexibility is worth $3,999.
ComMarker Omni X UV Review 2026: Is the $3,599 Enclosure Worth It?
We tested the ComMarker Omni X UV, a 6W 355nm UV laser with a full Class 1 enclosure. Honest verdict on glass, crystal, and plastic engraving, plus whether the $3,599 price beats the open-frame Omni XE UV.
ComMarker Omni XE UV Review 2026: The $2,999 Value Pick in 6W UV
We tested the ComMarker Omni XE UV 6W hands-on. Same UV engine as the $3,599 Omni X UV, minus the enclosure. Here's our honest verdict on the open-frame trade-off.