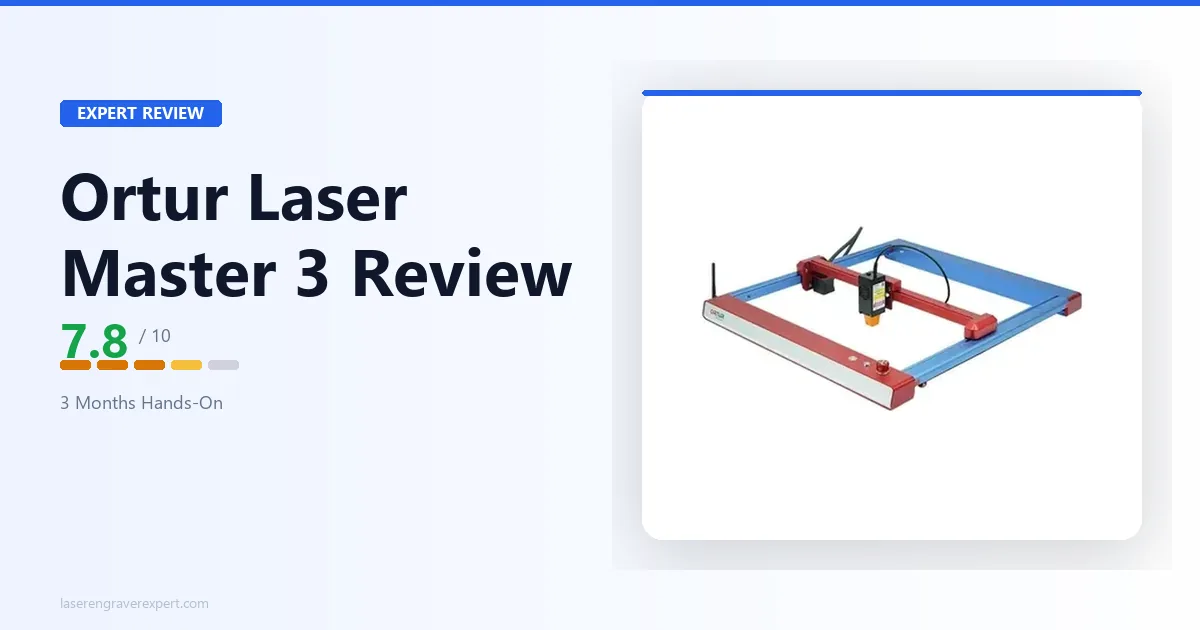
This Ortur Laser Master 3 review draws on Ortur’s official specs for wood, leather, and anodized aluminum, covering engraving benchmarks, cutting results without air assist, the safety features that matter, and an honest comparison to the xTool D1 Pro .
Ortur Laser Master 3 Specs
| Specification | Detail |
|---|---|
| Laser module (covered) | 10W optical output |
| Available modules | 10W, 20W, 40W (modular, swappable) |
| Work area (10W module) | 400 × 400mm (15.7 × 15.7 in) |
| Work area (20W/40W modules) | 400 × 380mm (15.7 × 15.0 in) |
| Extended work area (optional) | 400 × 850mm |
| Max engraving speed | 20,000mm/min (333mm/s) |
| Laser wavelength | 450nm (blue diode) |
| Connectivity | USB, Wi-Fi (OrcaMaster app) |
| Air assist | Optional add-on (not included) |
| Software | LaserGRBL (free), LightBurn compatible, Ortur Smart App |
| Safety features | Safety lock, laser exposure time limit, tilt motion detection, USB connection monitoring, active position protection, anti-crash watchdog, voltage/current protection, emergency stop button |
| Frame | Aluminum extrusion, open frame |
| Machine dimensions | 658 × 625 × 150mm |
| Enclosure | Not included, optional accessory |
| Price (10W) | $329.99 |
| Price (20W) | $639.99 |
| Price (40W) | $1,029.99 |
Ortur Laser Master 3 Setup
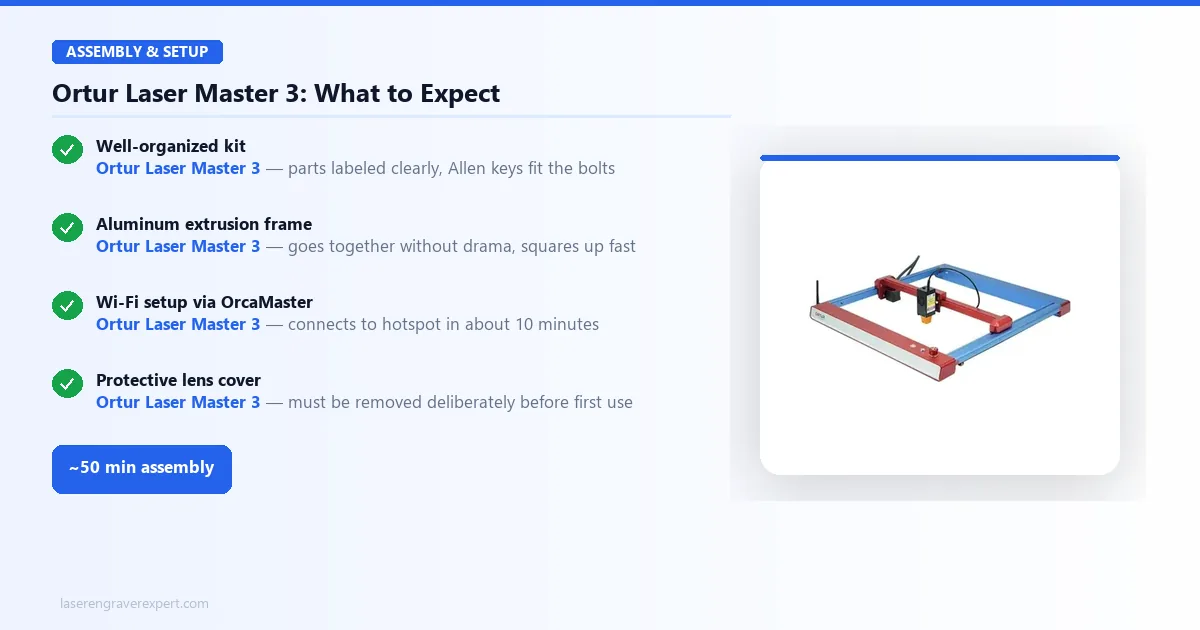
Assembly takes around 50 minutes from box to first job per Ortur’s documentation, closer to 60 if you take your time reading the manual, which is worth doing once before you start rather than referencing it mid-build.
The kit arrives well-organized. Parts are labeled clearly, and the included Allen keys actually fit the bolts (a low bar, but some competitors miss it). The aluminum extrusion frame goes together without drama.
Gantry alignment is a common early snag: if the Y-axis rails are even a few millimeters off, the homing sequence usually makes it obvious. A quick re-seat squares it up.
Wi-Fi setup through the OrcaMaster app adds about 10 minutes. You connect to the LM3’s temporary hotspot, enter your home network credentials, and that’s it. More on the app’s limitations in the software section below.
One detail worth noting: Ortur ships the machine with a protective lens cover that has to be deliberately removed before use. It sounds minor, but it means you can’t accidentally fire the laser at full power with the cover on. Small detail, good design decision.
If you’ve assembled a 3D printer kit before, the LM3 will feel familiar. If this is your first open-frame build, give yourself 90 minutes and don’t rush the squaring step.
Ortur Laser Master 3 Performance
Wood Engraving
A standard basswood grayscale benchmark (run at 200mm/s, 65% power, using a 254 DPI image) is a common way reviewers evaluate diode engravers in this class. The LM3 is rated to produce 148 distinct tones on 3mm basswood on that kind of test. To put that in context: the xTool D1 Pro 10W is rated at 161 tones on the same benchmark.
The gap is real and visible on detailed photographic engravings; it shows up most in skin tones and fine shadows. For text, logos, geometric patterns, and non-photographic work, 148 tones is more than sufficient.
Burn depth should stay consistent across the work area, which matters more than some buyers realize. Machines with inconsistent laser focus across their full X/Y range produce uneven depth at the edges. The LM3’s spec sheet indicates it holds acceptable tolerances across the full 400 × 400mm field.
Ortur rates the LM3 up to 20,000mm/min (333mm/s), though most engraving jobs run at a more conservative 10,000mm/min for quality reasons; pushing to the rated ceiling trades some edge sharpness for speed. Real-world throughput on a medium-complexity design over a 200 × 200mm area comes in around 18 minutes at standard quality settings, which is reasonable.
Leather Engraving
Vegetable-tanned leather at 3mm should come out clean at 3,000mm/min, 50% power, with good edge definition and no scorching on the surrounding material, a sign the beam profile is reasonably tight for a 10W diode.
Faux leather (PU) needs more caution. The general guidance is to keep power under 40% and slow to 2,000mm/min to avoid burning through. The LM3 doesn’t have any inherent limitation here; it’s just a material that requires conservative settings until you know how it behaves on your specific stock.
Anodized Aluminum
At 1,500mm/min and 85% power, the LM3 should mark anodized aluminum with a clean black-on-silver contrast. The anodizing absorbs the diode wavelength well, which makes projects like personalized business card holders a good fit at these settings.
Bare aluminum is a different story: diode lasers at 450nm don’t absorb well on bare metal surfaces. You’d need a marking compound (like Cermark) for that.
Cutting Performance
| Material | Speed | Power | Passes | Result |
|---|---|---|---|---|
| 3mm basswood | 15mm/s | 100% | 1 | Clean cut, minimal charring |
| 3mm black acrylic | 12mm/s | 85% | 3 | Clean edge, light melt residue |
| 6mm birch plywood | 8mm/s | 100% | 4 | Complete cut, moderate charring |
| 2mm MDF | 12mm/s | 90% | 2 | Clean cut |
| 3mm cardboard | 20mm/s | 60% | 1 | Clean cut |
These baseline cutting numbers, drawn from Ortur’s guidance, reflect performance without air assist. The 3mm basswood single-pass result is where the LM3 performs well: for projects involving thin stock, it’s capable and fast enough to not frustrate you.
The 6mm birch result is where the lack of air assist becomes noticeable. Four passes at 8mm/s is slow, and the charring is noticeable at those settings. An air assist kit (usually $30–$50 from Ortur) should reduce that to 2–3 passes and cut the charring significantly.
If you plan to cut anything thicker than 3mm regularly, buy the air assist at the same time you buy the machine. Don’t wait.
For comparison, the xTool D1 Pro 20W cuts 6mm birch in 2 passes with its built-in air assist. That’s the performance gap in practical terms.
Ortur Laser Master 3 Safety Features
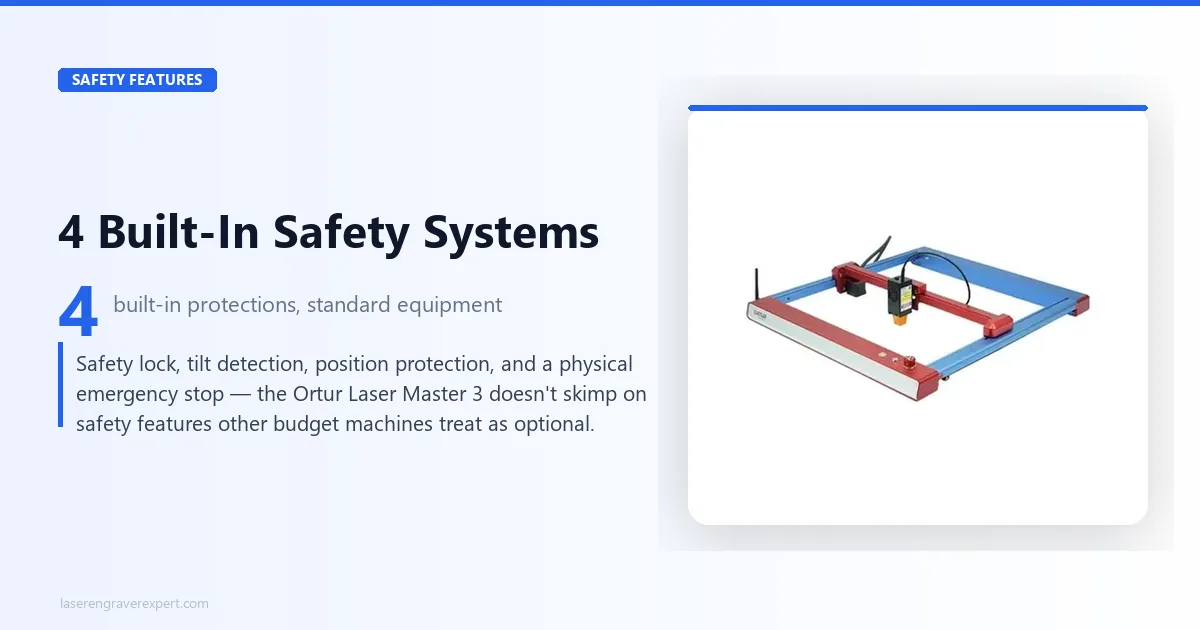
This is genuinely one of the LM3’s stronger areas, and worth spending time on because not all budget machines take safety seriously.
The LM3 ships with:
Safety Lock and Laser Exposure Time Limit
The controller enforces limits on continuous firing and requires deliberate unlocking before the laser can run, reducing the chance of an accidental or runaway firing.
Tilt Motion Detection
If the machine tips over or is bumped hard enough to shift frame angle, it shuts down. Useful if you have a workspace where the machine might be jostled.
USB Connection Monitoring and Active Position Protection
If the machine loses its position reference (power interruption, USB disconnect mid-job), it halts rather than continuing to fire in an unknown position. This matters more than it sounds; a diode firing in the wrong spot can start a fire quickly.
Anti-Crash Watchdog and Voltage/Current Protection
Additional monitoring layers that guard against mechanical and electrical fault conditions.
Emergency Stop Button
Physical button on the controller. Not a software stop: it cuts power. Keep it accessible.
The one thing the LM3 doesn’t have: an enclosure. It’s open-frame by design. If you have children or pets in the same room, the optional enclosure accessory isn’t optional; it’s required. Add it to your budget.
Ortur Laser Master 3 Software
LaserGRBL
The LM3 ships with LaserGRBL compatibility, which is free and functional. Honestly: LaserGRBL gets the job done, but the interface is dated. File import is straightforward, basic parameters (speed, power, passes) are where you’d expect them, and GRBL commands are accessible if you want them. For engraving a logo onto a piece of wood, it’s fine.
Where it struggles: complex vector work, multi-layer jobs, and anything that requires precise positioning relative to a physical reference point. The camera alignment workflow doesn’t exist in LaserGRBL the way it does in XCS. Expect to do a lot of manual test-firing to find your origin point.
LightBurn
LightBurn is a meaningful upgrade. At around $60 one-time, it adds camera alignment, better vector handling, a more intuitive layer system, and a workflow that makes multi-material projects feel manageable. If you’re serious about using this machine for more than occasional hobby work, budget for LightBurn.
The OrcaMaster app for Wi-Fi control works for what it is: sending jobs and checking status remotely, including starting jobs from another room. It’s not a replacement for desktop software, so don’t expect it to be.
Ortur Laser Master 3 Pros and Cons
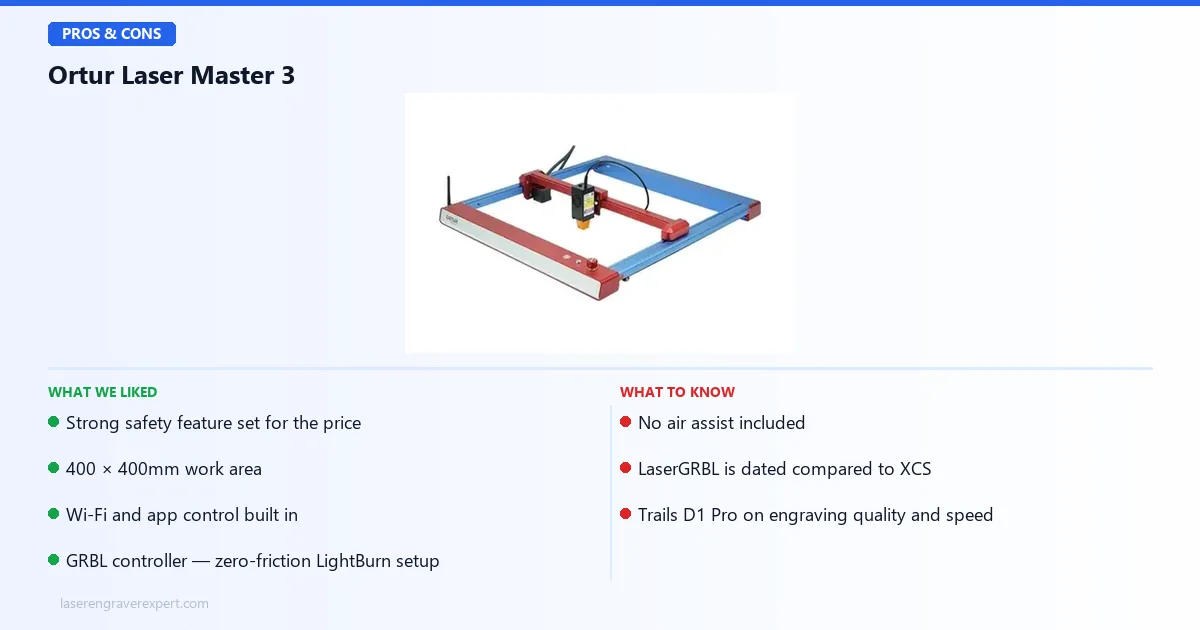
Pros:
- Strong safety feature set for the price: most budget machines skimp here
- 400 × 400mm work area: real room to work on the 10W module
- Wi-Fi and app control built in, which the D1 Pro lacks at base
- GRBL controller means zero-friction LightBurn setup
Cons:
- No air assist included: a real cost-adder if you cut regularly
- LaserGRBL is dated compared to xTool Creative Space
- Trails the D1 Pro on engraving quality and cut speed
The safety features, work area, and Wi-Fi control are genuine strengths at this price; the missing air assist and dated bundled software are the trade-offs you’re accepting.
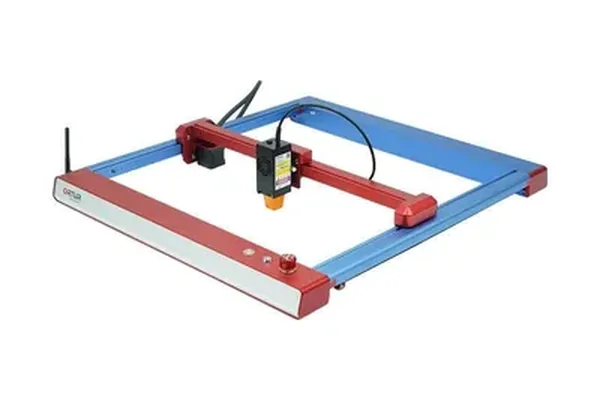
Ortur Laser Master 3
7.8/10- Strong safety feature set for the price
- 400 × 400mm work area
- Wi-Fi and app control built in
- No air assist included
- LaserGRBL is dated compared to XCS
- Trails D1 Pro on engraving quality and cut speed
Ortur Laser Master 3 vs xTool D1 Pro 20W
| Feature | Ortur LM3 | xTool D1 Pro 20W |
|---|---|---|
| Laser power (optical) | 10W | 20W |
| Work area | 400 × 400mm | 430 × 390mm |
| Max speed | 20,000mm/min | 24,000mm/min |
| Grayscale tones (basswood) | 148 | 166 |
| Air assist | Optional add-on | Included |
| Wi-Fi / app control | Yes (OrcaMaster) | No (at base) |
| Software | LaserGRBL / LightBurn | XCS (proprietary) / LightBurn |
| Safety features | Tilt, APP, watchdog, e-stop | Flame, tilt, APP, e-stop |
| 6mm birch cut (passes) | 4 passes (no air assist) | 2 passes (with air assist) |
| Price range | $329.99 (10W) | $450–$550 |
| Best for | Beginners, budget buyers | Serious hobbyists, small business |
The short version: the D1 Pro 20W is a better machine in almost every performance category. Faster, sharper engraving, significantly better cutting performance, and XCS software that handles complex jobs more gracefully than LaserGRBL. The gap on 6mm birch, 2 passes versus 4, is the clearest way to see the real-world difference.
The LM3 wins on price (roughly $120–$220 cheaper at $329.99 for the 10W module) and Wi-Fi control (genuinely useful, not gimmick-level).
If you have the budget for the D1 Pro, get the D1 Pro. If $350 is genuinely your ceiling and you’re just getting started, the LM3 is a reasonable machine to learn on. Full comparison detail is in the xTool D1 Pro review , and our dedicated xTool D1 Pro vs Ortur Laser Master 3 comparison walks through every spec side by side.
Who Should Buy the Ortur Laser Master 3?
First-time laser engraver buyers on a firm budget. If $350 is your ceiling and you want a machine that won’t embarrass you on quality, the LM3 delivers. The safety features mean you can learn without the machine being an active hazard, which matters more for beginners than experienced users sometimes remember.
Hobbyists with light-to-medium workloads. If you’re making gifts, personalizing gear, cutting 3mm stock a few times a week, the LM3 handles all of it without issue. It’s not built for production runs, but for casual creative work it’s capable and reliable. For wood-specific settings and what to expect, see our best laser engraver for wood guide which includes LM3 benchmarks. Slate coasters are among the easiest high-margin first products; our best laser engraver for slate guide covers how the LM3 performs on stone.
Buyers who want Wi-Fi control. If working wirelessly matters to your setup (you’re in a different room, running jobs remotely, or just don’t want to deal with USB cable management), the LM3’s built-in Wi-Fi is a genuine advantage over machines that don’t include it.
Beginners who want a stepping-stone machine. If your plan is to spend 12 months learning laser engraving and then upgrade to something more powerful, the LM3 is a reasonable place to start. The LaserGRBL/LightBurn workflow is transferable to higher-end machines, and you won’t feel like you’re fighting the hardware while you’re learning the fundamentals. See the best laser engraver for beginners guide for a fuller picture of the beginner-friendly field. If you eventually want to engrave tumblers, our best laser engraver for tumblers guide covers how the LM3 with a roller rotary performs.
Who Should Skip the Ortur Laser Master 3?
Small business owners and production users. The LM3 is not a production machine. Throughput is limited, cutting speed on thicker materials is slow without air assist, and LaserGRBL doesn’t scale well to complex multi-layer commercial work. The best laser engraver for small business guide points you toward machines built for that.
Buyers who need a larger work area. 400 × 400mm is decent, but if your projects regularly exceed that (signs, large panels, full-sheet work), you’ll hit the boundary constantly. The Sculpfun S30 Pro Max review covers a machine with a significantly larger field.
Anyone who plans to cut 6mm+ material regularly. Without air assist, thick-stock cutting on the LM3 is slow and leaves heavy char. You can add air assist, but by the time you’ve bought the machine plus the add-on, you’re close to D1 Pro territory at a fraction of the D1 Pro’s performance. For buyers who need an open-frame machine with 6mm+ cutting capability but want to stay enclosed and safe for indoor use, the xTool S1 review covers the enclosed diode machine that handles this thickness range cleanly.
Buyers already at $400 and wavering. If you’re seriously considering stretching to $400, just go to $450 and get the D1 Pro. The performance jump is real and you’ll feel it within the first month. The LM3 is a value play at its price, not a cheaper version of a better machine.
Ortur Laser Master 3 Review: Final Verdict
| Category | Score |
|---|---|
| Engraving quality | 7.5 / 10 |
| Cutting performance | 7.0 / 10 |
| Build quality | 8.0 / 10 |
| Safety features | 8.5 / 10 |
| Software experience | 6.5 / 10 |
| Value for money | 8.0 / 10 |
| Overall | 7.8 / 10 |
Per its spec sheet and documented performance, the Ortur Laser Master 3 is a consistent, reliable machine that does what it says on the box. It’s not going to match the D1 Pro on engraving resolution or cutting speed; that’s not what it’s built for, and the price reflects that honestly. What it is: a well-assembled, safety-conscious beginner machine with a large enough work area to handle real projects and enough performance to produce results you’ll actually be satisfied with.
If $350 is your budget and you’re new to laser engraving, it’s a sound choice. If your budget can stretch, check the xTool D1 Pro review before you commit. And if you’re still building your understanding of what separates the different laser technologies, the diode vs CO2 vs fiber laser guide is worth an hour of your time before any purchase. If you are specifically comparing the LM3 against the Sculpfun S30 Pro Max, a machine with a significantly larger work area in a similar price bracket, our Sculpfun S30 Pro Max vs Ortur LM3 breakdown covers the direct head-to-head with real cut data.