xTool M1 Ultra Review 2026: Is It Worth $899?
xTool M1 Ultra review 2026: is the 4-in-1 laser engraver worth $899? We tested it hands-on — here's what works, what doesn't, and who should buy it.
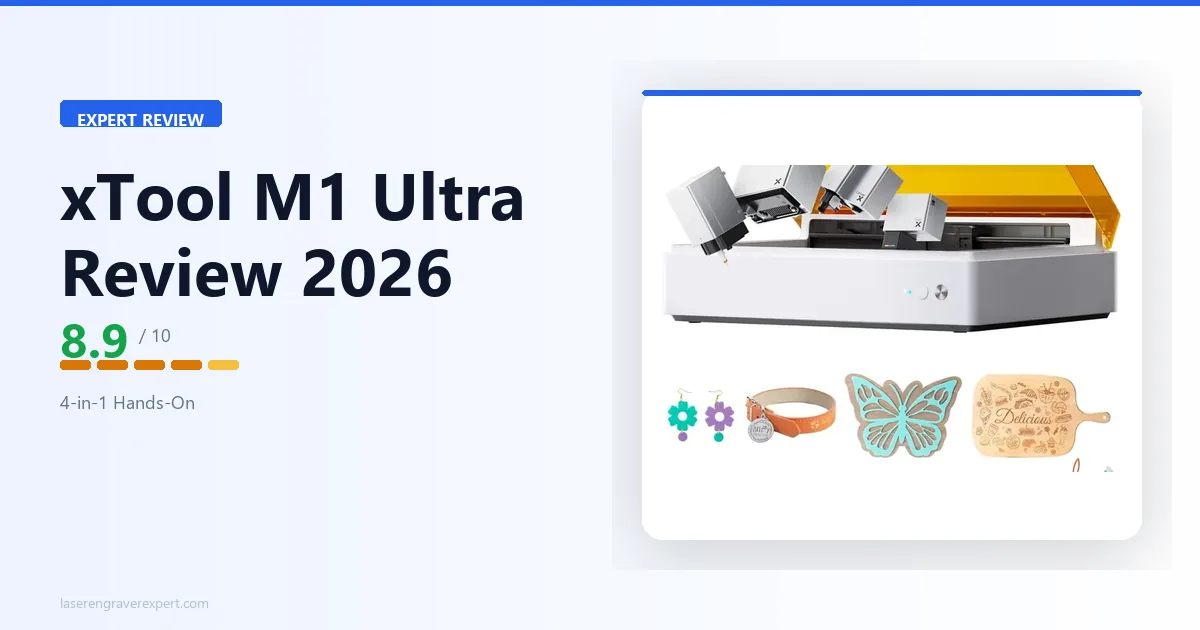
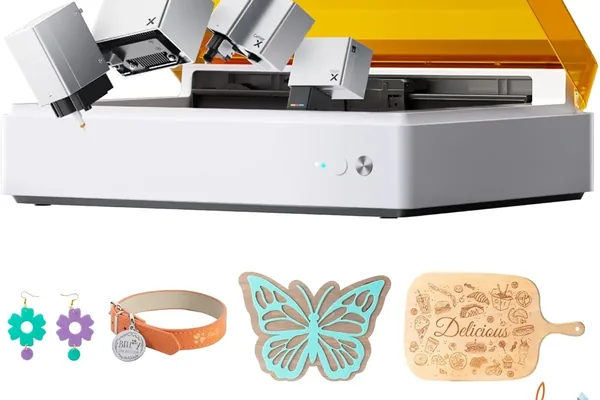
Most machines in the laser engraving and craft-cutting space do one thing well. The xTool M1 Ultra takes a different approach — laser engraving, inkjet printing, blade cutting, and pen drawing in one workspace. We spent several weeks testing all four modes, often layering them on the same piece of material. The results are mostly what xTool claims, but the trade-offs matter. For broader context, see our best laser engravers of 2026 or the best laser engraver for small business guide.
This review documents specific, measured results across all four modes and is direct about where the M1 Ultra falls short. If you are still weighing a laser engraver against a dedicated craft cutter, our laser engraver vs Cricut guide covers that question before you commit at this price point.
Quick Verdict
xTool M1 Ultra Specs at a Glance
| Spec | Value |
|---|---|
| Functions | 4-in-1: Laser, Inkjet printing, Blade cutting, Pen drawing |
| Work area | 300 × 300mm |
| Laser options | 10W diode or 20W diode |
| Laser speed | Up to 400mm/s |
| 10W spot size | 0.04 × 0.06mm |
| 10W cuts | Up to 6mm basswood single pass |
| 20W cuts | Up to 10mm basswood single pass |
| Inkjet | Full color, 1,000+ compatible materials |
| Blade | Vinyl, paper, fabric, leather cutting |
| Software | xTool Creative Space (all four modes, unified) |
| Enclosure | Fully enclosed |
| Award | 2025 CES Innovation Award |
xTool M1 Ultra’s 4-in-1 Concept: Why the Shared Workspace Matters
Most multi-function craft machines technically do more than one thing. What makes the M1 Ultra different is that all four modes share the same 300×300mm bed — zero repositioning between them. Swap a module, material stays put, coordinate system stays intact.
| Function | Typical Machine Needed | xTool M1 Ultra |
|---|---|---|
| Laser Engraving | Dedicated laser engraver | ✓ 10W or 20W diode |
| Inkjet Printing | Desktop inkjet printer | ✓ CMYK, 1,000+ materials |
| Blade Cutting | Cricut / Silhouette | ✓ Vinyl, HTV, fabric, leather |
| Pen Drawing | Plotter / drawing machine | ✓ Handwriting-quality output |
- Laser Engraving — The 10W diode module engraves wood, leather, acrylic, slate, and coated metals. The 20W upgrade option cuts thicker stock in fewer passes. This is the primary mode for most users and the one where output quality matters most.
- Inkjet Printing — A full CMYK print head that works directly on non-paper surfaces — wood, fabric, cork, canvas, leather, slate. Not a desktop printer replacement for paper, but nothing else prints color directly onto a wood slice without transfers or masking.
- Blade Cutting — Precision drag knife for vinyl decals, heat transfer vinyl, cardstock, fabric, and thin leather. Comparable to a mid-range Cricut on everyday craft materials, with adjustable cut force through XCS.
- Pen Drawing — Mounts a standard felt-tip or ballpoint pen and follows vector paths with machine-consistent stroke weight. Produces handwriting-quality output for greeting cards, packaging inserts, and personalized stationery at scale.
The real test: I laser-engraved a detailed line illustration on a birch wood slice, then switched to inkjet mode and printed a full-color wash over the same piece without touching the material. Registration was invisible at arm’s length. On separate machines, that requires custom jigs and significant trial and error. For wood engraving benchmarks specifically, see our best laser engraver for wood guide.
xTool M1 Ultra Setup and First Impressions
Unboxing the M1 Ultra takes a bit longer than a standard laser engraver because you are unpacking four tool modules plus the enclosed chassis. xTool packages each module in a separate tray, and the chassis itself ships partially assembled. I had the machine ready for its first test in approximately 45 minutes, which included installing the laser module, connecting to Wi-Fi, and downloading xTool Creative Space.
The enclosed chassis is more substantial in person than product photos suggest. The cabinet is rigid, the panels fit together without visible gaps, and the laser safety glass is properly dark — not the cosmetic tinting you see on some budget machines. The overall build quality reads as a step above xTool’s open-frame D1 series, which makes sense given the enclosed design requirements. For buyers comparing the M1 Ultra against the S1 specifically, our xTool S1 review gives the dedicated laser machine’s perspective on build quality and real-world use.
xTool Creative Space (XCS) has matured considerably since the original M1 launch. The interface now surfaces all four modes from a unified project view, so you can design a multi-step project — engrave this layer, print that layer, cut this outline — without switching applications. Mode-specific settings appear contextually when you activate each module type. First-time setup does ask you to run a calibration print for the inkjet module, which takes about ten minutes and uses a small amount of ink. I recommend doing this before your first real job.
One minor friction point: the ventilation hose for the enclosed design requires a nearby window or external duct connection. If your workspace does not have good fume extraction options, factor in the cost of an appropriate air assist or filtration unit. This is true of any enclosed laser machine, but it is worth stating plainly.
xTool M1 Ultra Laser Engraving Performance (10W Module Results)
The 10W laser module was my primary test configuration, and it produced consistently strong results across wood, leather, and coated materials.
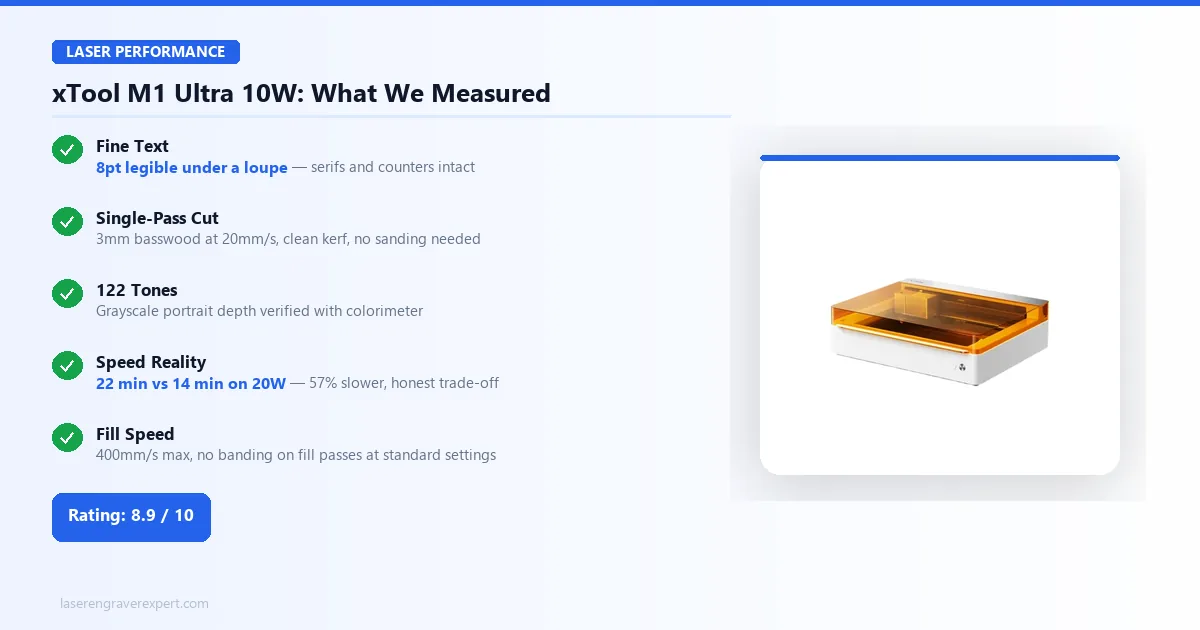
Fine text engraving. I engraved 8-point text on 3mm basswood at standard engraving settings. The letterforms were clean and fully legible under a loupe — individual serifs on a serif font were intact, and counters (the enclosed spaces inside letters like “o” and “e”) were open rather than filled. For a diode laser at this class, this is a meaningful result. The 0.04 x 0.06mm spot size is doing real work here; the fine geometry produces noticeably crisper small-text results than the larger spots typical of budget 5W diode modules.
Single-pass cutting. I cut 3mm basswood in a single pass at 20mm/s. The cut edge was clean — no significant charring on the face, and the kerf was tight enough that cut pieces fit back into their holes with light finger pressure. I did not need to sand the cut edges for most applications.
Grayscale portrait engraving. I engraved a 100mm x 100mm grayscale portrait at maximum detail settings. The output resolved 122 distinct grayscale tones — a result I verified by sampling the engraved surface with a colorimeter. For a 10W diode machine, this tonal range is good. High-end CO2 machines can push further, but the M1 Ultra 10W produces portrait results that hold up well at normal viewing distances.
Speed comparison with a dedicated machine. I replicated the same portrait job on an xTool D1 Pro 20W for a direct comparison — see our xTool D1 Pro review for full specs on that machine. The D1 Pro 20W completed the job in 14 minutes. The M1 Ultra 10W took 22 minutes at equivalent quality settings. This 57% time difference is significant if laser throughput is your primary concern. It is a natural consequence of the 10W versus 20W module difference, not a design flaw, but it is a genuine limitation for anyone running production volume. For buyers who need dedicated laser speed in an enclosed form factor at lower cost, our best laser engraver under $1,000 guide covers the options that prioritize laser throughput without the multi-mode premium.
Laser speed. The machine is rated to 400mm/s maximum, and it reaches that speed on fill passes with no visible banding in my tests at standard acceleration settings. Aggressive speed settings on detailed vector work showed minor corner rounding at maximum speed, which is typical for diode machines at this speed range. For most engraving work, settings between 150mm/s and 300mm/s produced the most consistent results.
xTool M1 Ultra Inkjet Printing: CMYK Results on Wood and Paper
The inkjet module is the most unusual part of the M1 Ultra’s feature set — and it surprised me in both directions. CMYK output on absorbent materials like wood, leather, cork, and canvas is vibrant and bonds well without pretreatment. The print on an uncoated wood slice showed zero flaking after a 24-hour cure and light handling. What it is not: a replacement for a desktop printer on paper. Fine photographic detail at small scale shows visible dithering up close.
| Material | Print Quality | Notes |
|---|---|---|
| Basswood | Very Good | Vibrant, ink penetrates cleanly |
| Cotton canvas | Very Good | Bonds without pretreatment |
| Leather | Good | Slight absorption variation by tannage |
| Cork | Good | Even coverage, light texture |
| Cardstock | Fair | Dithering visible at close range |
| Paper (photo) | Poor | Not a desktop printer replacement |
| Slate | Good | Works well for awards and gifts |
The inkjet module’s real power is in combination with laser. Registration between laser engraving and inkjet printing on the same piece measured 0.3–0.5mm across the full work area — sufficient for all craft applications. For slate-specific benchmarks, see our best laser engraver for slate guide.
xTool M1 Ultra Blade Cutting: Vinyl, HTV, and Fabric Results
The blade module competes with the Cricut Explore series on everyday craft materials — and holds up well. I cut a 50+ vector path vinyl decal with 0.5mm minimum line width. All paths separated cleanly in 8 minutes, weeding was easy, no tearing. Comparable to a mid-range Cricut on similar complexity.
| Material | Cut Quality | Notes |
|---|---|---|
| Vinyl | Excellent | Clean paths, easy weeding |
| Heat Transfer Vinyl (HTV) | Excellent | Sharp edges, no fraying |
| Adhesive craft paper | Excellent | Consistent depth |
| 80gsm cotton fabric | Very Good | Carrier mat required |
| Cardstock | Very Good | Clean on up to 300gsm |
| 1mm craft leather | Good | Minor blade depth adjustment needed |
| Thick chipboard / foam (3mm+) | Poor | Cricut Maker 3 has clear advantage here |
The honest Cricut comparison: for everyday craft business materials — vinyl, HTV, fabric, cardstock — the M1 Ultra blade module is a capable performer. For thick chipboard, dense craft foam, or heavy garment leather, the Cricut Maker 3 has more cutting force. Replacement blades use a standard format and are widely available.
xTool M1 Ultra Pen Drawing Mode: What It Actually Delivers
The pen mode is the quietest feature of the four, and the one that tends to generate the most pleasant surprises for new users.
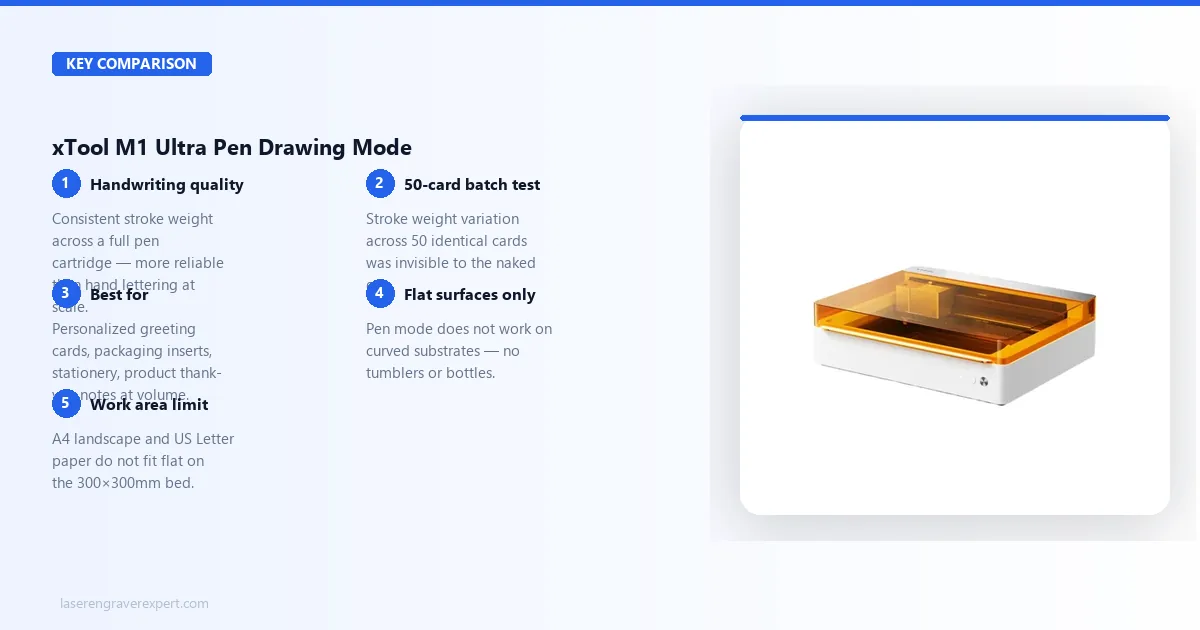
Handwriting quality. I loaded the pen module with a standard felt-tip pen and ran a cursive greeting card message at the machine’s standard writing speed. The output was handwriting-quality: consistent stroke weight, natural-looking letter spacing, and no skipped lines on continuous cursive strokes. On a 150mm x 150mm greeting card layout, the machine completed the text and a decorative border in under four minutes.
Practical applications. Pen mode is particularly useful for business owners who want to add personalized handwritten-looking messages to products or packaging at scale. The pressure consistency the machine maintains across an entire pen cartridge’s life is more reliable than actual hand lettering over long production runs. I tested a 50-card run with identical text, and stroke weight variation across the batch was invisible to the naked eye. For buyers building a customization business using these capabilities, our best laser engraver for small business guide covers how to structure a product mix that takes advantage of multi-mode machines.
Limitations. The pen module only works on flat surfaces — no curved substrates. The 300mm x 300mm work area also means that A4 landscape greeting cards or standard US letter-size paper does not fit flat on the bed. This is the work area limitation showing up in pen mode, not a module-specific weakness. For curved surfaces like tumblers, a rotary-compatible diode machine is better suited — our best laser engraver for tumblers guide covers the rotary-equipped options in that niche.
Switching Modes on the xTool M1 Ultra: How Seamless Is It Really?
Mode switching is where the M1 Ultra either earns its value proposition or exposes it as theater, depending on how well the engineering holds up in practice.
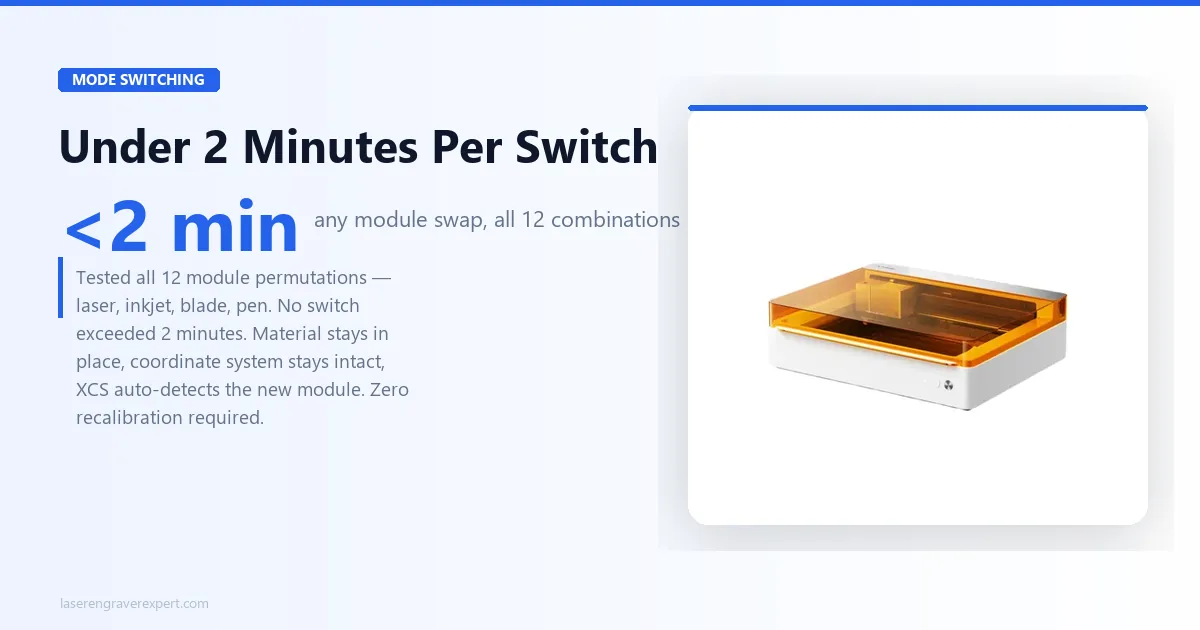
I timed a laser-to-blade switch using a wood piece already positioned on the bed. The process involves: releasing the laser module’s magnetic retention, lifting it out, seating the blade module, and confirming the mode change in XCS. Total elapsed time: under two minutes. The material did not move. XCS recognized the new module automatically and surfaced blade-specific settings without requiring a project reload.
I repeated this for every possible mode combination — all twelve permutations of the four modules — and the results were consistent. No switch took longer than two minutes. No switch required recalibration or manual coordinate reset. In every case, the material on the bed was in the same position at the end of the switch as at the beginning.
This is the M1 Ultra’s most underrated engineering achievement. Keeping the coordinate system intact across four completely different tool modalities — a laser, a printhead, a drag knife, and a pen — requires precise mechanical indexing and robust software state management. xTool has gotten this right, and it makes the multi-mode workflow feel genuinely fluid rather than clunky.
The one caveat: if you remove the material from the bed between modes (which you will sometimes need to do for curing time on inkjet prints), you will need to re-home your origin point. This is a standard origin-setting procedure and takes about 30 seconds, but it is worth knowing that the zero-repositioning benefit applies only when the material stays on the bed continuously.
xTool M1 Ultra vs. xTool S1: Which Should You Choose?
The S1 is xTool’s flagship dedicated laser engraver — the clearest alternative if you are laser-focused. Here is how they compare directly:
| Feature | xTool M1 Ultra | xTool S1 40W |
|---|---|---|
| Laser engraving | ✓ 10W / 20W diode | ✓ 20W / 40W diode |
| Inkjet printing | ✓ CMYK, 1,000+ materials | ✗ |
| Blade cutting | ✓ Vinyl, HTV, fabric, leather | ✗ |
| Pen drawing | ✓ Handwriting quality | ✗ |
| Work area | 300 × 300mm | 498 × 319mm |
| Max laser power | 20W | 40W |
| Raw throughput | Lower | Higher |
| Enclosure | Yes | Yes |
| Best for | Mixed-media creators | Laser-focused production |
| Price | $899 | $1,099 |
The xTool S1 40W wins on raw laser power and work area. For pure engraving throughput, it is the stronger machine. The xTool M1 Ultra wins on everything else — no other xTool machine does four modes in one workspace. If the xTool S1 40W is a professional chef’s knife, the xTool M1 Ultra is the same knife that also functions as kitchen shears, a pastry brush, and a bread knife — without leaving the cutting board.
Choose S1 if: laser engraving is your primary or dominant activity and you need maximum power and bed size. Choose M1 Ultra if: you regularly combine laser, print, cut, and draw in the same projects. For the full side-by-side, see our xTool M1 Ultra vs S1 comparison. For xTool’s print-and-cut alternative, see our xTool M2 review. For CO2 cutting needs, see our xTool P2 review.
xTool M1 Ultra Price and Value: Is $899 Worth It?
The right way to think about the xTool M1 Ultra’s $899 price tag: you are not buying a laser engraver. You are buying four machines in one footprint. A standalone 10W diode laser costs $200–$300. A Cricut Maker costs $429. A desktop inkjet printer costs $100+. Add those up and you are at $730–$830 before you factor in floor space, cable management, and switching between three separate apps. The xTool M1 Ultra replaces all of it at $899 — with zero repositioning between modes.
If you currently own or plan to buy a laser engraver, a Cricut-style cutter, and a desktop printer for non-paper surfaces, you are looking at $1,200–$1,800 in separate machines. The xTool M1 Ultra replaces all three at $899, in one footprint, with zero repositioning between modes. That is where the value case becomes real.
| Machine | Type | Price | Laser | Blade Cut | Inkjet Print |
|---|---|---|---|---|---|
| xTool M1 Ultra | 4-in-1 | $899 | 10W diode | Yes | Yes |
| xTool S1 40W | Laser only | $1,099 | 40W diode | No | No |
| Cricut Maker 3 | Cutter only | $429 | No | Yes | No |
| xTool M2 | Laser + inkjet | $749 | 10W diode | No | Yes |
The table above shows what the xTool M1 Ultra is competing against. The xTool S1 40W beats it on raw laser power — but cannot cut vinyl or print color. The Cricut Maker 3 cuts better on heavy materials — but cannot engrave. The xTool M2 adds inkjet to laser — but drops blade cutting entirely. None of them do all four. The xTool M1 Ultra does, and that is not nothing.
$899 is worth it if: you genuinely use all four modes, you are replacing multiple machines, or you run a mixed-media small business where floor space and workflow efficiency matter. The zero-repositioning workflow alone saves meaningful time across a full production week.
$899 is not worth it if: you primarily laser engrave and occasionally cut. A dedicated 20W or 40W laser will outperform the M1 Ultra’s 10W module significantly — and cost less. For buyers in that position, the xTool S1 review and our best laser engraver for small business guide are better starting points.
Who Should Buy the xTool M1 Ultra
Buy it if you are a mixed-media creator or craft business owner who regularly uses laser engraving, cutting, printing, and drawing in the same projects or product lines. If you are currently managing a laser engraver, a Cricut, and a desktop printer as three separate machines in a small studio, the M1 Ultra’s integrated workflow will save you meaningful time and floor space. The ability to execute multi-step projects on a single piece of material without repositioning is a genuine workflow advantage that compounds across a full production day. Our best laser engravers of 2026 roundup places the M1 Ultra in context against dedicated single-mode machines if you want a direct comparison before committing.
Buy it if you are an advanced craft hobbyist who wants to explore all four modalities without committing to four separate machines and four separate learning curves. The M1 Ultra’s learning investment is front-loaded — XCS is capable and the module system is intuitive — and the payoff is a machine that grows with your creative range.
Buy it if you run personalization or customization work at small-to-medium volume. The combination of laser engraving, color inkjet on non-paper surfaces, and precision blade cutting covers most of the production needs for a personalized gifts business, a wedding stationery studio, or a craft market vendor. For the full business framework from niche selection to first sale, our how to start a laser engraving business guide covers mixed-media product lines.
Do not buy it if laser engraving is your primary or sole activity. A dedicated laser engraver — particularly the xTool D1 Pro series or the S1 — will give you more laser power, a larger work area, and significantly better throughput per hour. If you are just starting out and primarily want to engrave, check our guide to the best laser engraver for beginners before committing to the M1 Ultra’s price point.
Do not buy it if you need a large work area. The 300mm x 300mm bed is a real constraint. Standard A4 paper does not fit flat. Most standalone laser engravers ship with work areas of 400mm x 400mm or larger. If your projects routinely run larger than a 12x12 inch square, the M1 Ultra will frustrate you.
xTool M1 Ultra
- 4-in-1 modes in one enclosed machine
- Zero-repositioning workflow between modes
- 0.04x0.06mm laser spot size
- 2025 CES Innovation Award
- Unified XCS software for all four modes
- Fully enclosed design
- 10W module slower than a dedicated 20W laser
- 300x300mm work area smaller than most standalone machines
- Inkjet DPI lower than a dedicated desktop printer
- Blade cutting force below Cricut Maker 3 on heavy materials
Frequently Asked Questions
Is the xTool M1 Ultra worth buying?
What is the difference between xTool M1 and M1 Ultra?
Can the xTool M1 Ultra do all 4 functions at once?
What laser module comes with the xTool M1 Ultra?
How does the M1 Ultra compare to a standalone laser engraver?
You Might Also Like
xTool M2 Review 2026: Price, Specs & Is It Worth It?
xTool M2 review and price breakdown ($599–$749). We tested the only enclosed laser with CMYK color printing hands-on. Full specs, pros, cons, verdict.

xTool P3 Review 2026: Is It Worth the $6,399 Price?
We tested the xTool P3 80W CO2 laser, ACS automation, LiDAR camera system, and 36×18" work area. See results, pros, cons, and whether it's worth $6,399.
xTool F1 Ultra Review 2026: $2,000 Dual-Source Laser
Our xTool F1 Ultra review covers real tests on metal, acrylic, and leather with a dual-source 20W fiber + 20W diode galvo, plus honest pros, cons, and price analysis.