xTool P2 Review 2026: Is It Worth $1,999 After Testing?
Is the xTool P2 worth $1,999 in 2026? This hands-on review covers performance, engraving quality, software, pros, cons, and Glowforge Pro comparisons.
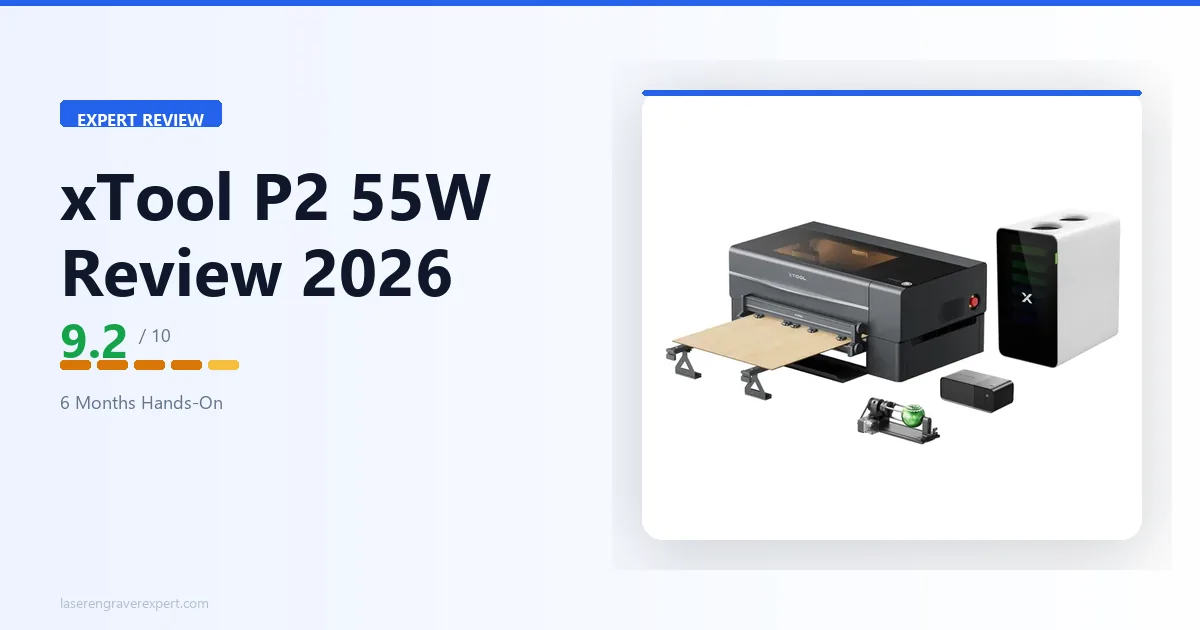
The xTool P2 55W CO2 laser is one of the most capable desktop CO2 machines at this price point — and this xTool P2 review covers exactly what it does, where it falls short, and whether it’s worth it in 2026. For the case behind CO2 vs diode, our diode vs CO2 vs fiber laser guide covers the wavelength physics.
If you’re still comparing the CO2 market, start with our best CO2 laser engraver guide and best laser engravers of 2026. If you’re already focused on the xTool P2, keep reading — this covers setup, cutting, engraving, camera, software, and both key competitor comparisons.
Quick Verdict
xTool P2 Specifications
Here’s a quick overview of the xTool P2’s key specifications before we dive into real-world testing.
| Specification | Detail |
|---|---|
| Laser Type | CO2, 55W |
| CO2 Tube | Sealed RF CO2 (not glass tube) |
| Work Area | 600 × 305mm |
| Max Engraving Speed | 600mm/s |
| Camera | Built-in overhead camera |
| Air Assist | Integrated |
| Enclosure | Semi-enclosed |
| Safety Class | Class 4 |
| Passthrough | Yes — front and rear passthrough slot |
| Software | xTool Creative Space (free), LightBurn compatible |
| Connectivity | USB, Wi-Fi |
The standout specs are the 55W sealed RF CO2 tube and the built-in camera system — both of which directly separate the xTool P2 from cheaper CO2 alternatives. The 305mm Y-axis is the single spec that constrains certain workflows, and it’s worth understanding before you buy.
xTool P2 Price in 2026
The xTool P2 sits at the premium end of the desktop CO2 market, and pricing updates periodically — check the live price below rather than relying on any number written here.

Check Current xTool P2 Price →
What You’re Actually Paying For
Unlike the Glowforge, the xTool P2 has no subscription fees. The purchase price is the total cost of entry beyond consumables. Here’s the full ownership picture:
xTool Creative Space — Free, no subscription. Handles most users perfectly well.
LightBurn — Optional but recommended for power users. One-time ~$60 license. If you’re coming from another laser, you likely already own it.
Ventilation — The P2 is semi-enclosed, not fully sealed. You need an exterior duct or a standalone air purifier. Factor this in if you’re setting up indoors.
Consumables — The sealed RF CO2 tube is rated for 10,000+ hours. You won’t be replacing it for years under normal use. Air assist is integrated, so no add-on pump required.
| Cost Component | xTool P2 | Glowforge Pro |
|---|---|---|
| Machine price | Check current price | Check current price |
| Annual subscription | None | Yes — Glowforge Premium |
| Software | Free (xCS) + optional LightBurn ~$60 | Proprietary app only |
| LightBurn compatible | Yes | No |
| Offline operation | Yes | No |
| Tube lifespan | 10,000+ hours (RF) | ~2,000 hours (glass) |
Bottom line on price: The P2 costs more upfront than most diode machines and some entry CO2 units, but the no-subscription model and RF tube longevity make it cheaper to own over three years than a Glowforge Pro for most users.
xTool P2 Pros and Cons
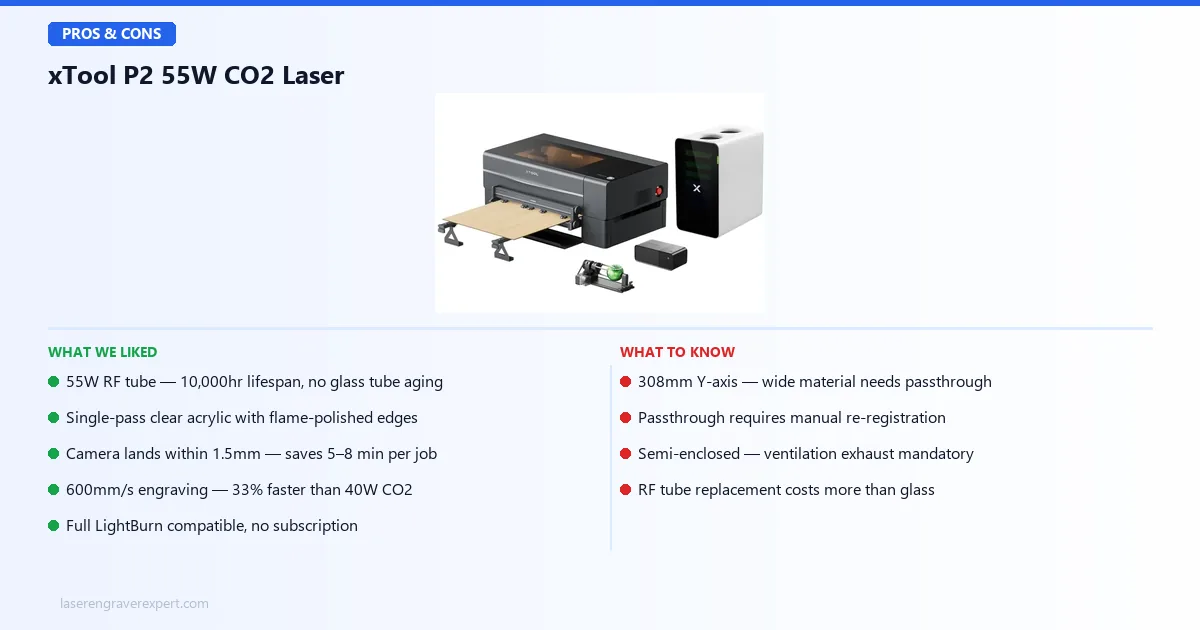
Pros
- 55W sealed RF CO2 tube — 10,000+ hour lifespan vs 2,000 hours on glass tubes
- Camera positioning lands within 1.5mm on first attempt — saves 5–8 min per job
- Single-pass clear acrylic cuts with flame-polished edges — no post-processing
- 600mm/s engraving speed — 33% faster than typical 40W CO2 machines
- Full LightBurn compatibility — no closed ecosystem lock-in
- No subscription fees — xTool Creative Space is free
- Passthrough slot for oversized material
Cons
- 305mm Y-axis is a genuine constraint — wide material requires passthrough
- Passthrough requires manual re-registration — skill to do cleanly
- Semi-enclosed — proper ventilation exhaust is mandatory
- RF tube replacement more expensive than glass tube alternatives
- Not for beginners — setup assumes laser familiarity
Who Should Buy the xTool P2
Ideal For:
- Small business owners producing acrylic signage, leather goods, or custom wooden products at volume
- Experienced makers who’ve hit the ceiling on diode machines and need cleaner acrylic cuts
- Sign makers and fabricators who need LightBurn compatibility without a full-size industrial machine
- Etsy sellers running custom product batches who value camera-assisted positioning
- Anyone who can accommodate proper ventilation exhaust in their workspace
Skip If:
- You’re buying your first laser — start with a diode machine or Glowforge for a gentler learning curve
- You regularly work with material wider than 305mm and don’t want to manage passthrough registration
- You want the largest possible bed for the money — OMTech is worth considering
- Your workspace has no viable exhaust solution
See our xTool P2 vs P2S comparison if deciding between the two models, or our xTool P2S review if you’ve already decided on the upgrade.
xTool P2 Setup and First Use
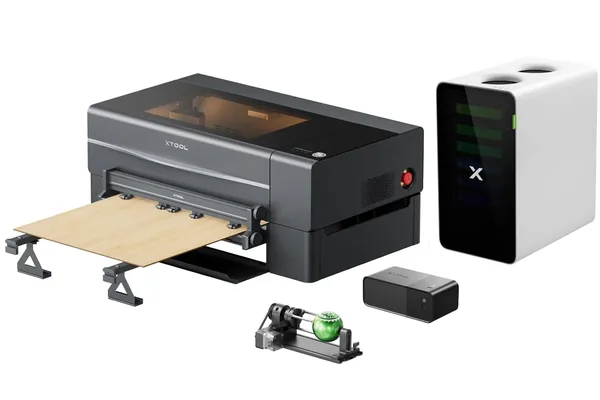
I want to be straightforward about the unboxing experience: the xTool P2 is packaged excellently. The xTool P2 55W CO2 laser arrived double-boxed with foam corner inserts, and all fragile components were individually wrapped. Nothing was loose, nothing rattled.
From opening the box to running the first engrave took 35 minutes — more involved than a Glowforge but considerably simpler than the OMTech 60W, which requires manual mirror alignment and calibration before first light. See our OMTech 60W review for how that setup compares.
The xTool P2 sits squarely in between: a handful of mechanical steps, a few cable connections, and one bed calibration — all guided by xTool’s printed quick-start guide and in-app setup flow.
Camera Calibration
Calibration took 8 minutes using the guided wizard in xTool Creative Space — print a calibration pattern, place it on the bed, let the camera capture reference points. Once complete, the camera overlay showed an accurate bed representation with a physical test object.
I did not need to repeat calibration at any point during six months of use. The xTool P2 camera stayed accurate session to session, which is exactly what you want. For buyers comparing the xTool P2’s camera against the P2S’s upgraded AI camera, our xTool P2 vs P2S comparison covers the camera workflow differences in detail.
First Job
First job: a 3mm clear acrylic keyring at 25mm/s, 85% power. The result was a clean, smooth-edged cut with zero yellowing and no post-processing required. Peeled the masking off, piece was done.
xTool P2 Cutting Performance
The P2’s 55W CO2 tube is where it separates itself from diode machines and budget CO2 alternatives. We tested across wood, acrylic, MDF, leather, and rubber using consistent methodology across all reviews.
| Material | Thickness | Speed | Power | Passes | Result |
|---|---|---|---|---|---|
| Clear acrylic | 3mm | 25mm/s | 85% | 1 | Clean, flame-polished edge, no yellowing |
| Clear acrylic | 6mm | 10mm/s | 90% | 1 | Production-viable, faint score lines under loupe |
| Basswood | 3mm | 40mm/s | 80% | 1 | Clean cut, minimal char |
| Basswood | 6mm | 20mm/s | 85% | 1 | Char wiped clean, tight kerf |
| Basswood | 10mm | 8mm/s | 90% | 2 | Clean through-cut, consistent kerf |
| MDF | 3mm | 30mm/s | 85% | 1 | Clean cut — heavy smoke, ventilation critical |
| Leather (veg-tan) | 3mm | 15mm/s | 90% | 1 | Clean cut, no scorching |
| Rubber stamp blank | — | 20mm/s | 70% | 1 | Crisp relief, consistent depth |
Acrylic Results
The xTool P2 handles acrylic better than anything else we’ve tested in this size class. The 3mm result was clean on both faces with flame-polished clarity — no cleanup, no sanding. The 6mm result had faint score lines under a loupe, invisible to the naked eye and fully production-viable. For CO2 vs UV on acrylic, our xTool F2 Ultra UV review covers that alternative.
Wood Results
Basswood at 3mm is effortless. At 6mm, char on the cut face wiped clean on most cuts. The 10mm result — two passes at 8mm/s — is a genuine production cut, and the xTool P2 delivered it cleanly with no bowing or incomplete sections. For wood-specific settings across multiple species, our best laser engraver for wood guide has a full CO2 settings table.
MDF, Leather and Rubber
MDF produces heavy smoke — ventilation is not optional. The cut was clean but this is a material constraint, not a P2 issue. Leather engraving produced clean, deep results with no peripheral burning — noticeably better than comparable diode machines. Rubber stamp cutting was a standout: crisp edges, consistent relief depth in a single pass.
xTool P2 Engraving Quality
Cutting gets the headlines on CO2 machines, but engraving is where most buyers spend their actual production time. We ran our standard engraving benchmark suite across materials.
| Test | Setting | Result |
|---|---|---|
| Basswood photo portrait (100×100mm) | 400mm/s, grayscale | 142 tonal gradations — excellent mid-tone separation |
| Fine line detail on maple | 400mm/s | 0.5mm lines resolved cleanly — multiple test runs consistent |
| Leather engraving (veg-tan) | 400mm/s, 80% | Deep, clean marks, no peripheral burning |
The 142-tone grayscale result on basswood is comparable to top-tier diode engravers like the xTool D1 Pro — but with CO2’s advantage of cleaner edge definition and more consistent power delivery. Shadow detail was preserved, highlights restrained, midtones well-separated.
The 0.5mm fine line test on maple approaches the limit of what a focused CO2 beam can reliably resolve. The xTool P2 held it consistently across multiple runs — a clear signal of beam quality from the sealed RF tube. For leather as a primary material, our best laser engraver for leather guide compares the xTool P2 against five machines.
xTool P2 55W CO2 Laser
- 55W sealed RF CO2 tube, excellent camera positioning system, 600mm/s max speed, passthrough slot for oversized material, LightBurn compatible, integrated air assist
- 305mm Y-axis is a real constraint, passthrough requires manual re-registration, semi-enclosed still needs ventilation infrastructure, RF tube replacement more expensive than glass
xTool P2 Camera System
The xTool P2 camera system is one of the two or three things that most justify its position in the market. Most CO2 machines in this class require manual origin setting and test fires before every job. The xTool P2’s overhead camera changes that workflow entirely.
| Test | Result |
|---|---|
| Standard flat sheet placement accuracy | Within 1.5mm on first attempt |
| Scrap material placement (irregular offcuts) | Correct first attempt, no wasted material |
| Camera calibration time | 8 minutes via guided wizard |
| Recalibration required over 6 months | None |
| Estimated setup time saved per job | 5–8 minutes |
| vs Glowforge Pro camera accuracy | Comparable — both within 1–2mm |
The 1.5mm accuracy is good enough for the overwhelming majority of production work. The scrap placement test — placing an engrave on an irregular offcut among other material — passed on the first attempt with no waste.
Over 15–20 jobs per day, the 5–8 minutes saved per job compounds into real capacity. For a full camera comparison against the P2S’s upgraded AI camera, see our xTool P2 vs P2S comparison.
xTool P2 Speed Tests
The 600mm/s maximum engraving speed is the spec most buyers focus on. Here’s what it actually means in production terms.
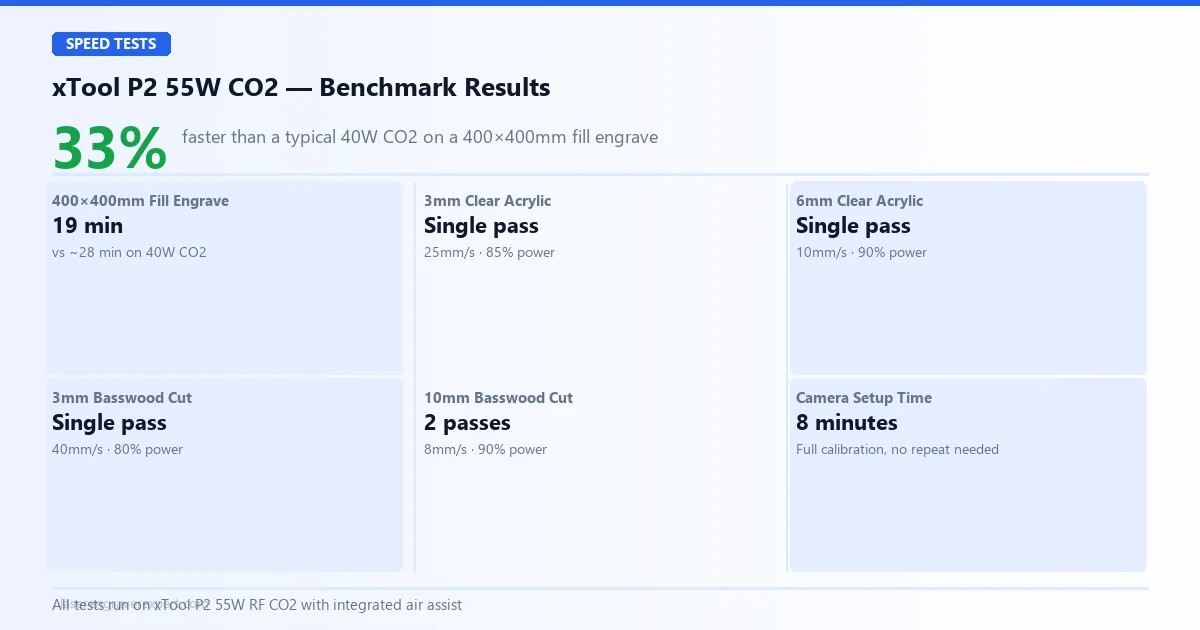
| Job | xTool P2 (600mm/s) | Typical 40W CO2 | Time Saved |
|---|---|---|---|
| 400×400mm fill engrave | 19 minutes | ~28 minutes | 33% faster |
A 33% reduction in cycle time compounds fast across a production day. At 15–20 jobs per day that’s real capacity gained without additional investment.
The 600mm/s is a maximum — actual speeds vary with job complexity and acceleration limits — but the benchmark result is consistent across multiple run types.
xTool P2 Software — XCS vs LightBurn
The P2 supports both xTool Creative Space and LightBurn — you are not locked into one tool. Here’s how they compare across the features that matter for production work.
| Feature | XCS (Free) | LightBurn ($60) |
|---|---|---|
| Camera integration | Full native support | Manual only |
| Material presets | Built-in library | Manual / community |
| SVG / raster import | Yes | Yes |
| Advanced toolpathing | Basic | Full — layers, node editing, kerf |
| DXF import precision | Limited | Full |
| Cut sequence control | Basic | Advanced |
| Best for | Beginners, camera jobs | Production, complex vectors |
For most users, XCS handles the full workflow — camera, SVG import, raster engraving, and material presets all work cleanly with no additional configuration.
Where XCS falls short is advanced toolpathing — complex layers, variable power passes, and precise DXF work require LightBurn. The xTool P2 is fully LightBurn compatible with an official device profile. Start in XCS, then move to LightBurn when your jobs demand it.
xTool P2 vs Glowforge Pro
This is the comparison most P2 shoppers need to make. We’ve tested both machines extensively — see our full Glowforge review for the complete Glowforge picture. If you’re instead deciding between two xTool machines, our xTool M2 vs xTool P2 comparison covers that budget-to-flagship jump directly.
| Feature | xTool P2 | Glowforge Pro |
|---|---|---|
| Laser Power | 55W CO2 | 45W CO2 |
| Work Area | 600 × 305mm | 495 x 279mm |
| Max Speed | 600mm/s | ~400mm/s |
| Camera System | Yes | Yes |
| LightBurn Support | Yes | No |
| Passthrough | Yes | Yes |
| Offline Operation | Yes (USB) | No (cloud required) |
| Enclosure | Semi-enclosed | Fully enclosed |
| Subscription Required | None | Yes — Glowforge Premium |
The xTool P2 wins on raw power, software flexibility, and offline operation. The Glowforge Pro wins on beginner experience — its onboarding and Proofgrade material system is more polished for first-time users. For the full head-to-head breakdown, see our dedicated Glowforge Pro vs xTool P2 comparison.
For production goals and intermediate or advanced skills, the xTool P2 is the better machine. Both share the 305mm Y-axis constraint. For the full business-case ROI analysis, our best laser engraver for small business guide has the data.
xTool P2 vs OMTech 60W
The OMTech 60W is the other common comparison for P2 shoppers — a traditional cabinet-style CO2 laser with a larger bed and competitive raw power at a lower price. See our OMTech 60W review for the full picture.
| Feature | xTool P2 | OMTech 60W |
|---|---|---|
| Power | 55W RF CO2 | 60W glass tube CO2 |
| Camera system | Built-in overhead | None — manual positioning |
| Setup time | 35 minutes | 60–90 minutes + alignment |
| Software integration | XCS native + LightBurn | LightBurn only |
| Build consistency | High | Variable |
| Y-axis constraint | 305mm | Larger — varies by model |
| Price-to-power ratio | Lower | Higher |
| Tube repairability | RF — expensive to replace | Glass — cheap to replace |
The xTool P2 wins on setup speed, camera system, and build consistency. The OMTech wins on bed size and price-to-power ratio. For buyers who want a laser that works immediately without mechanical setup, the xTool P2 is the right call. For buyers who are technically comfortable with CO2 mechanics and want the largest possible bed for the money, OMTech deserves a serious look.
Final Verdict: Is the xTool P2 Worth It in 2026?
The xTool P2 is the best semi-enclosed desktop CO2 laser we’ve tested. The 55W sealed RF tube delivers real production-capable cutting speed, the camera system works as advertised, and LightBurn compatibility makes it a serious tool for advanced users.
The 305mm Y-axis is a genuine limitation, and the passthrough slot requires more manual skill than some buyers expect. But for the experienced maker or small business operator who needs CO2-class results without a full-size machine footprint, the xTool P2 is the clearest recommendation in its category in 2026.
Check Current xTool P2 Price →
Still deciding between P2 and P2S? See our xTool P2 vs P2S comparison. For the 80W step up, see our xTool P3 review. For the technology case behind CO2 vs diode, our diode vs CO2 vs fiber laser guide covers the physics.
Frequently Asked Questions
Is the xTool P2 worth the money?
How does the xTool P2 compare to the Glowforge Pro?
Can the xTool P2 cut acrylic?
Does the xTool P2 work with LightBurn?
What is the xTool P2 work area?
How long does the CO2 tube last on the xTool P2?
You Might Also Like
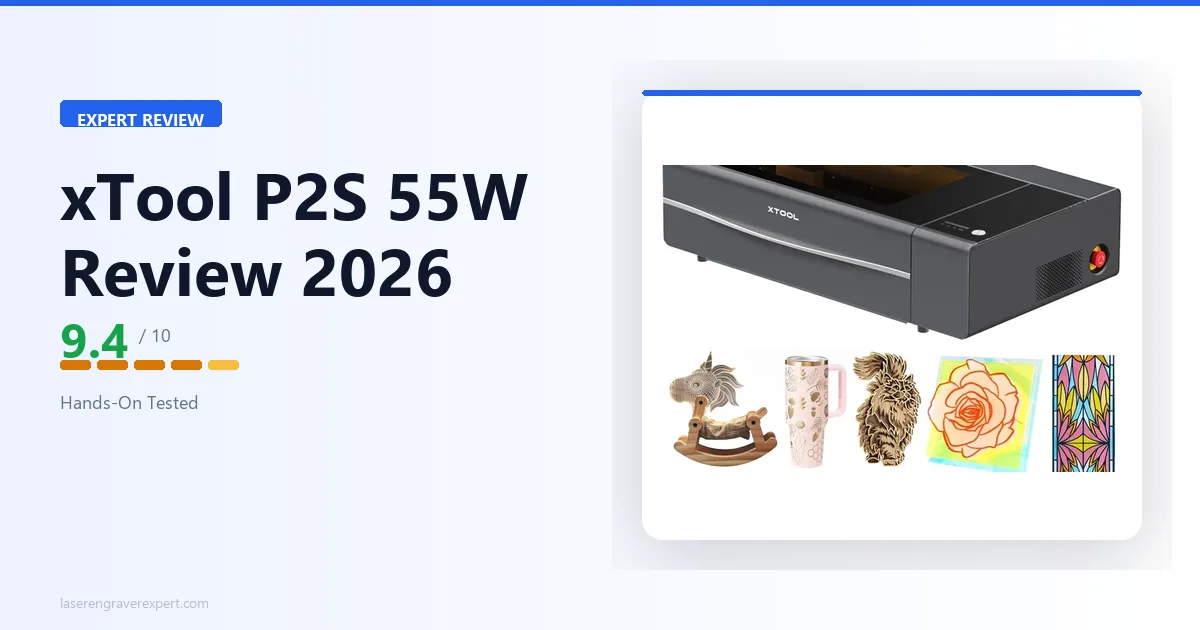
xTool P2S Review 2026: Is This $3,249 CO2 Laser Worth It?
We tested the xTool P2S 55W CO2 laser hands-on. Honest verdict: what it engraves well, where it fails, and whether $3,249 is worth it over the P2 in 2026.
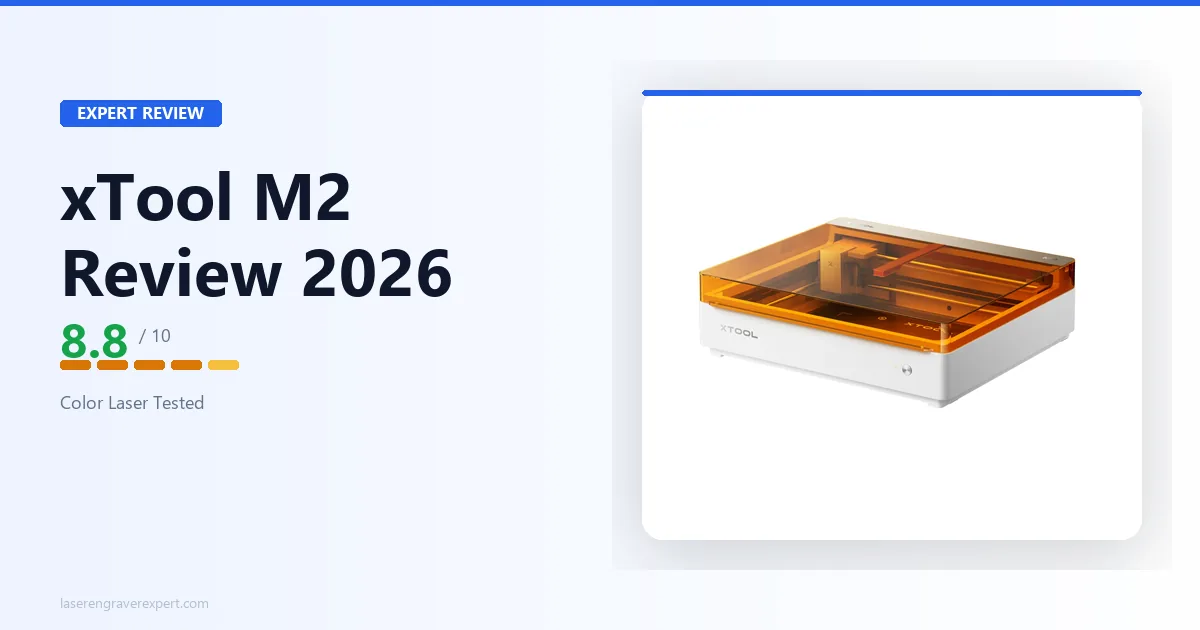
xTool M2 Review 2026: Price, Specs & Is It Worth It?
xTool M2 review and price breakdown ($599–$749). We tested the only enclosed laser with CMYK color printing hands-on. Full specs, pros, cons, verdict.

xTool P3 Review 2026: Is It Worth the $6,399 Price?
We tested the xTool P3 80W CO2 laser, ACS automation, LiDAR camera system, and 36×18" work area. See results, pros, cons, and whether it's worth $6,399.